Strawberry Dulce de Leche Cake
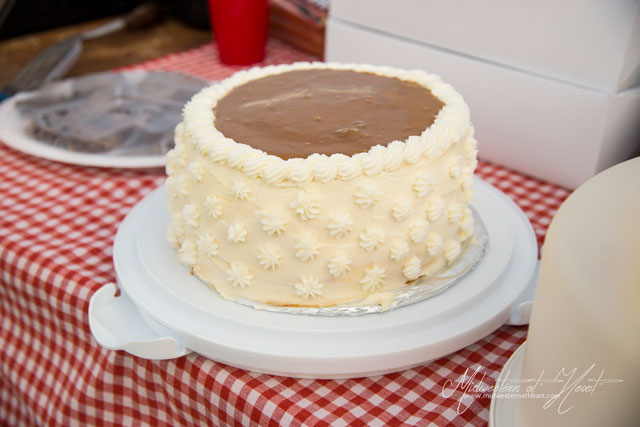
A couple of weeks ago, my friend Dan hit me up about doing a cake for his wife for her birthday. He requested we bring it to dive club meeting last week. I said, okay… any ideas. He said no. I said, okay what does she like or what doesn’t she like? He told me chocolate and coconut. That immediately made me think of German Chocolate Cake. But I wasn’t sure, so I went on a hunt for cakes.
That lead me to send him 10 different recipe ideas. Okay, now, which one? He narrowed my 10 down to 2. One was a Cannoli Cake and the other was a Strawberry Dulce de Leche cake from Life Love and Sugar. I looked back and forth and finally decided on the Strawberry Dulce de Leche cake.
Dulce de Leche
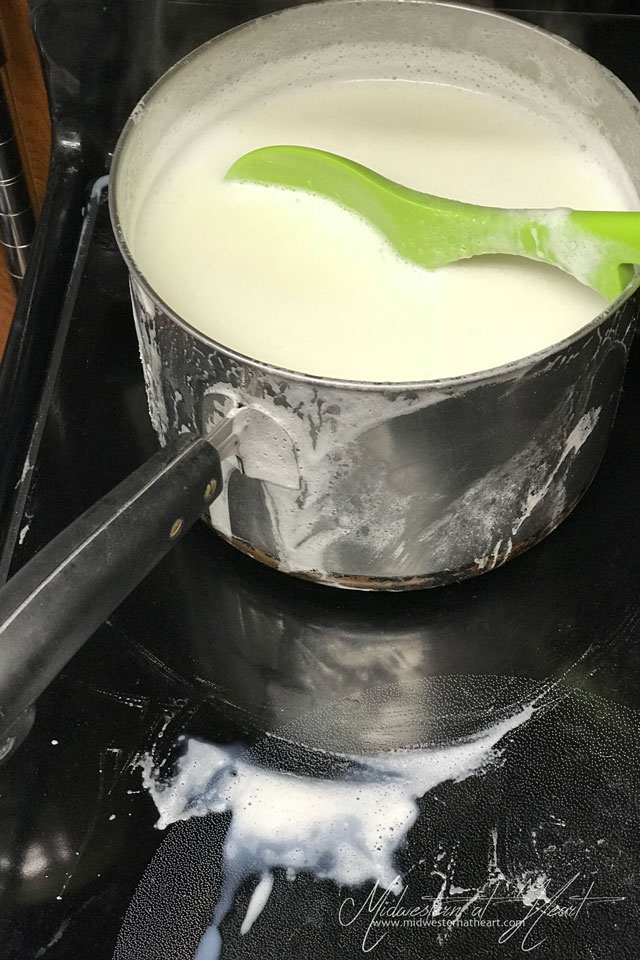
So I had Dulce de Leche left over from the Chocolate Dulce de Leche cake. That stuff lasts in the refrigerator for up to a month. The perfect way to use it up!! But there wasn’t enough. So I decided I needed to either buy some or make some. I still, at this point anyway, hadn’t found it in the store, so I decided to make it again. I stumbled across this post by Gemma at Bigger Bolder Baking of how to make Dulce de Leche faster than my original trial run.
The trial run was to take Sweetened Condensed Milk and turn it into Dulce de Leche after boiling it for 3.5 hours. Gemma had a recipe that said you use milk, sugar, and eventually vanilla. It takes 1.5 hours. So much faster, right? WRONG!
Ways I screwed it up…
- I decided to double the recipe. I wouldn’t do that.
- When I brought it to a boil, I boiled it over the pan. Yuck. Sticky mess.
- Then I wound up cooking it closer to 6 hours.
- Just as it started to turn into that luxurious dessert, it curdled. WHAT?!?! Maybe not curdled, but got lumpy for some reason.
- Ugh!
I was so frustrated. Almost but not quite to the point of tears. My darling, dear, sweet husband found Dulce de Leche in the store. Do you want to know where to look? Go to the Hispanic section of the grocery store. It is, after all, an Argentinian dessert. BAM! And that’s how it’s done.
The buttercream
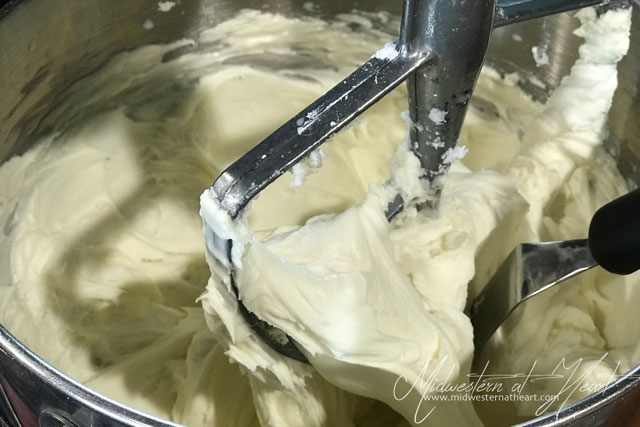
There wasn’t enough for this cake. I was sad. Luckily, the other cake I made that day had icing leftover so used some of the coconut buttercream to finish up this cake. You couldn’t tell and Yum!
The Cake
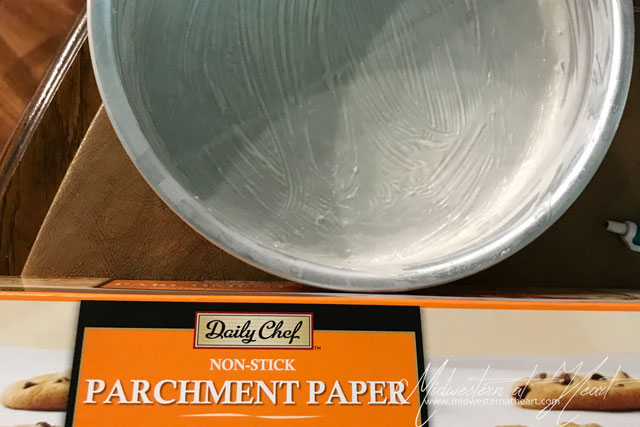
I have to say… This whole lining the bottom of your cake pan with parchment paper is a new concept for me…. but I like it! If you haven’t tried it, I recommend trying it, at least once! I also made my own cake pan lining stuff. It was interesting! I like it, for those 6 cakes I made that day anyway. Yes, 6 cakes.
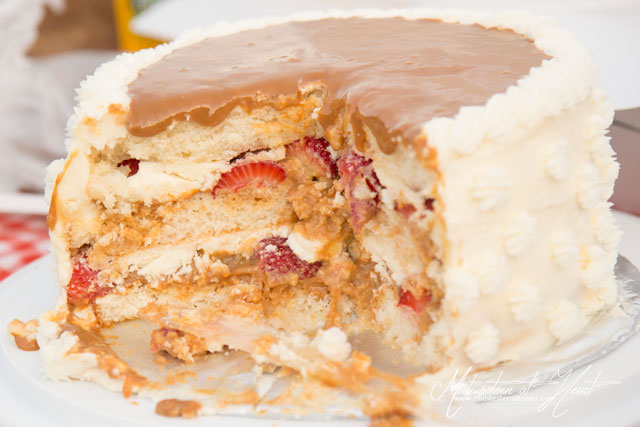
Strawberries. I LOVE Strawberries. This cake had strawberries in between the layers. It was totally awesome.
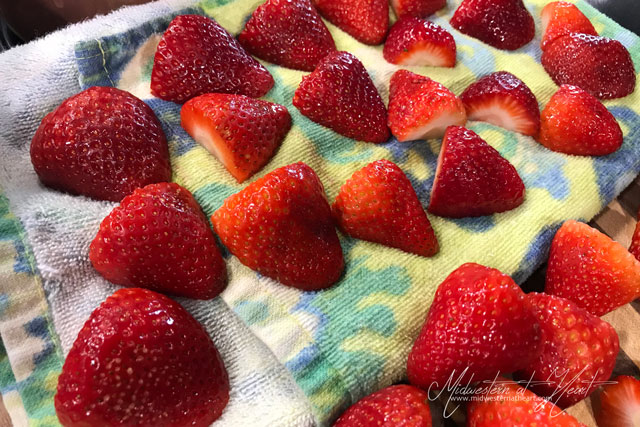
There was a layer of Dulce de Leche. A layer of strawberries. Then a layer of icing. Yum!
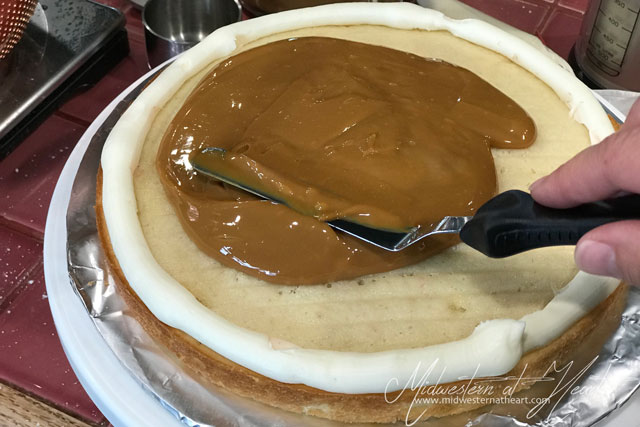
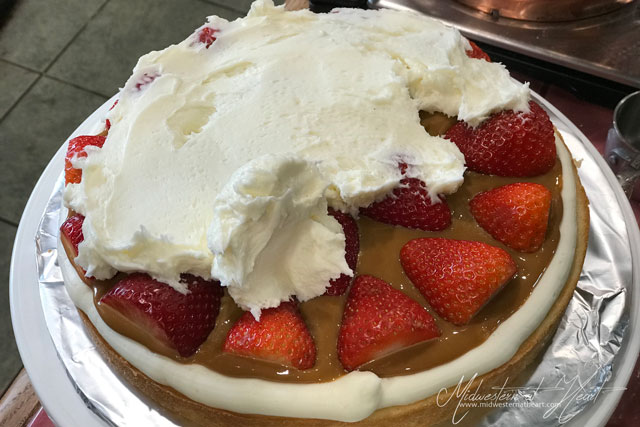
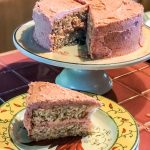
The Finished Product
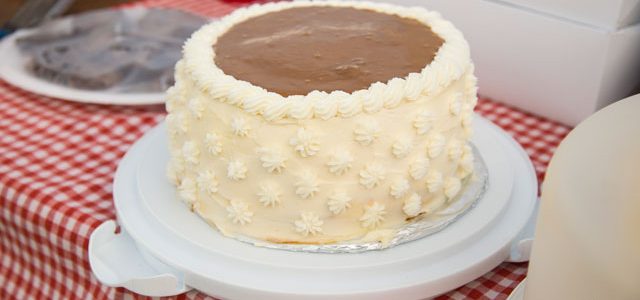
So the verdict. Make this cake. Totally Yum! Maybe it didn’t have enough icing because I used too much in the layers. I’m not sure. I may have had my icing a little thick to be spreadable. All I want to say though is… Yum! The vanilla cake, the dulce de leche, strawberries… it all just worked.
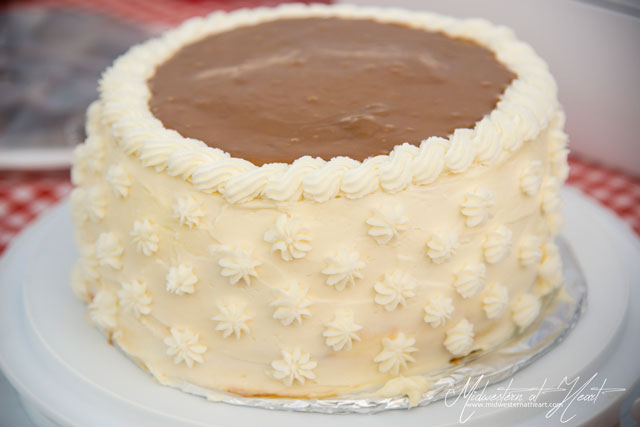
By the way, today is Carlene’s birthday. This was the cake made for her birthday. Join me in wishing her a happy birthday. And I can definitely say that my love of making cakes is coming back! I absolutely LOVE making these beautiful cakes. These fun cakes. Yum!
- Cake Layers
- 3/4 cups butter, at room temperature
- 1-1/2 cups sugar
- 4 egg whites
- 2-1/4 cups all-purpose flour
- 1 tablespoon baking powder
- 1 cup buttermilk, at room temperature
- 1-1/2 teaspoon vanilla extract
- Buttercream
- 2 cups butter
- 7-8 cups powdered sugar
- 2 teaspoon vanilla extract
- 4-5 tablespoon milk
- For filling
- 2 13.4-ounce cans of dulce de leche
- 1 lb strawberries, washed, dried and sliced
- Cake layer: Preheat oven to 350˚F. Grease and line 3 9-inch cake pans. Set aside.
- Beat butter and sugar until the butter is light in color and the mixture is fluffy about 2-3 minutes.
- Add egg whites, one at a time, beating until smooth.
- In another bowl, whisk dry ingredients.
- Add vanilla to the buttermilk.
- Now add the dry ingredients and the buttermilk mixture to the butter mixture, starting with 1/3 of the dry ingredients, 1/2 the buttermilk mixture, 1/3 of the dry ingredients, the rest of the buttermilk mixture and ending with the dry ingredients. Make sure the mixture is well incorporated and smooth after each addition of ingredients.
- Split batter evenly between 3 prepared pans.
- Bake 18-20 minutes, or until a toothpick inserted into the center comes out clean.
- Allow cake to cool in pans for 3-5 minutes, then remove from pans to a cooling rack to finish the cooling process.
- Meanwhile, make the buttercream. Beat the butter until light in color and smooth. 5-10 minutes.
- Slowly add 3 cups of the powdered sugar. Mix well until combined.
- Add the vanilla to the mixture.
- Finally, add the remaining powdered sugar and mix well until smooth.
- Use milk to thin the icing to a spreadable consistency. Make sure to mix the milk in well so that it is evenly distributed.
- Let’s assemble the cake: add a little buttercream to the cake board. Smooth thin. This is to help hold the bottom layer cake.
- Level the cake (take the dome off) if necessary, then place on your cake board.
- Pipe a line of icing around the outside of the cake. This is a barrier for the Dulce de Leche/Strawberries so they don’t fall off the cake.
- Place about 3/4 of a cup of dulce de leche on the cake. Spread evenly. Top with a layer of strawberries. Make sure your strawberries are halved and dried. Make sure they are dry! If not, the extra water will ooze the filling/strawberries out of the cake and make a mess.
- Add a thin layer of buttercream over the strawberries. The icing should help fill in the strawberries and give the next cake layer something to adhere to.
- Repeat icing, dulce de leche, strawberries, buttercream, cake layer.
- Ice the sides of the cake with a thin layer of icing for a crumb coat.
- Then pop the cake into the fridge for 30 minutes-1 hour for the crumb coat to set up.
- Once out of the fridge, ice the sides of the cake. Place a thin piped border around the top of the cake to help hold in the dulce de leche.
- Then add the last of the dulce de leche on top.
- Store the cake in the refrigerator.
It does indeed look awesome! Congratulations on persevering!