Baking Challenge – Checkerboard Cake
I’ve mentioned a few times that I challenged myself to the “cupcake” challenge this year. You know… the Food Network January/February 2017 cupcake for every month challenge. Then a couple weeks ago I was talking to the hubs and told him that I needed a challenge for next year. He laughed at me saying, “But Nicole, you still have the rest of this year. We’re only at July.” I know, I know, but I’m thinking ahead. My idea was to do a pie for every month. Come on… who doesn’t like pie. And I may still persue that… who knows…
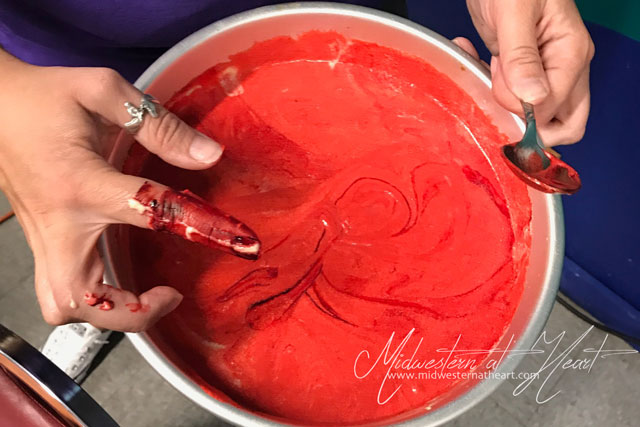
But because of a gal I follow on Instagram, I found Sally’s Baking Addiction where she’s doing a monthly baking challenge. Oh darn, I guess I’ll bite…. I went through and saw all the options they’ve made thus far. They started this in February… I stumbled across this the end of July, so I couldn’t wait to see what the August challenge was. Turns out, it was a checkerboard cake. (and yes, I dyed my finger RED as seen in the above/below photo. It was that way for a couple days. I read whitening toothpaste helps take food coloring off fingers, I just didn’t try it)
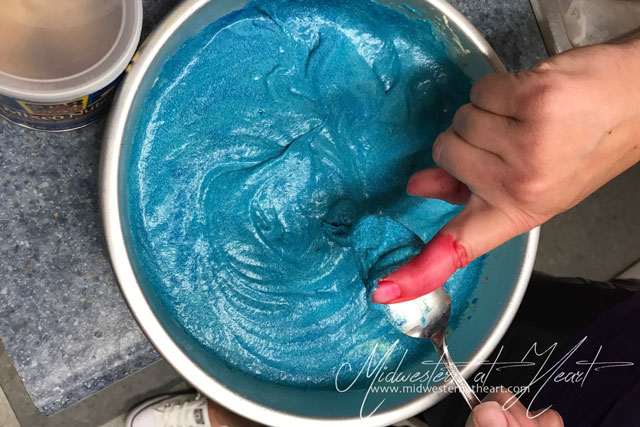
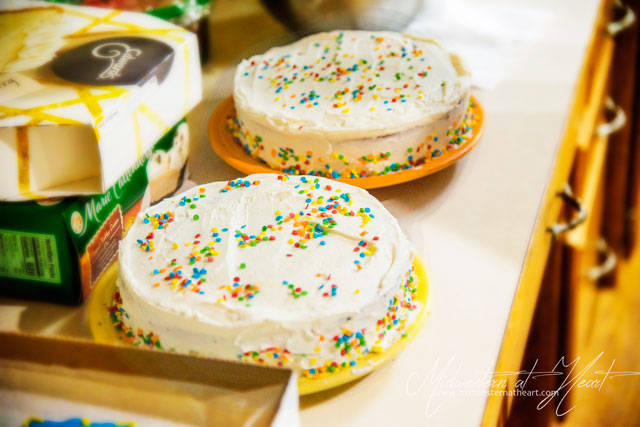
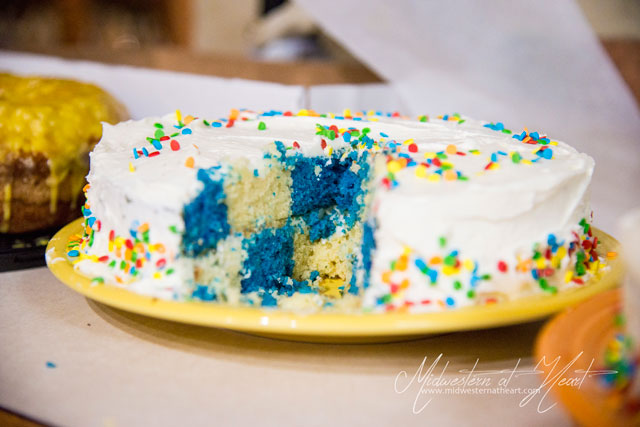
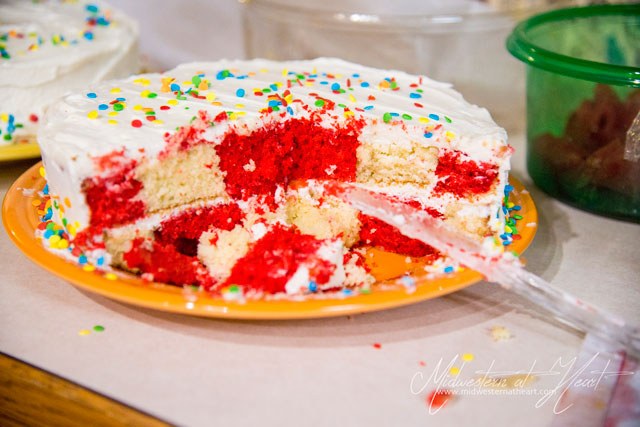
Her cake was 4 layers tall. Pretty cool looking if I do say so myself. We dive with Extreme Sports Scuba and this year they are celebrating their 20th year in business. At the August dive club meeting we decided that we were going to celebrate the 20 years (since their 20 years happens this month). I told them I’d make the cake. My way to contribute but also… make this gorgeous cake! Win win! Well, I decided to do 2 2-layer cakes because 1, we could do 2 different colors, blue for the alfa/alpha flag and red for the diver down flag. Plus it might feed more people that way. That was the thought process behind it all.
I never realized just how easy the it was to make the checkerboard cake. The icing was excellent. The cake was a little dry and dense in my opinion, but I could have just baked it a smidge long. Who knows. Together though it was really good, and pretty!
Come on, seriously, who doesn’t like a pretty cake. They say you eat with your eyes first.
Checkerboard Cake
Ingredients:
- 3 3/4 c (431g) sifted ap flour (sift first, then measure)
- 1 tsp baking powder
- 3/4 tsp baking soda
- 1 tsp salt
- 1 1/2 c (3 sticks; 345g) unsalted butter, softened
- 2 c (400g) sugar
- 5 large eggs, at room temperature
- 3 tsp vanilla extract
- 1 3/4 c (420ml) buttermilk, at room temperature (don’t have, make sour milk. whole milk plus 1 1/2 tsp vinegar or lemon juice)
- food coloring (I prefer gel)
- 1/3 c (50g) rainbow sprinkles (plus more for garnish), optional
Vanilla Buttercream:
- 1 3/4 c (3 1/2 sticks; 400g) unsalted butter, softened
- 7 c (840g) confectioners’ sugar
- 6 Tbsp (90ml) heavy cream
- 1 tsp vanilla extract
- 1/4 tsp salt
Directions for the Cake:
- Preheat oven to 350°F (177°C). Grease and lightly flour (I prefer using Baker’s Joy AWESOME stuff) four 9-inch cake pans.
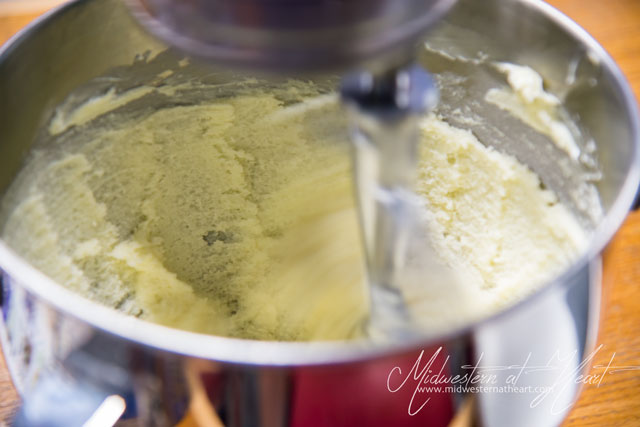
- Make the cake: Whisk the flour, baking powder, baking soda, and salt together in a large bowl, set aside. In a mixer, beat butter on high until smooth and creamy, about 1 minute. Add the sugar and continue to beat on high for 5 minutes. Scrape down the sides of the bowl as needed. On medium-high speed, add 1 whole egg at a time, beating well after each addition. Beat in the vanilla. Scrape down the sides of the bowl.
- With the mixer on low, add the dry ingredients in thirds alternating with the buttermilk, starting and ending with dry. Do not overmix the batter. The batter should be smooth, velvety, and slightly thick. There will be a total of 8 cups of batter.
- Transfer half the batter into a second bowl. At this time stir sprinkles in if you desire and add food coloring. You want your 4 layers (or in my case 2) to be different so you can see the checkerboard effect. Pour batter evenly into prepared baking pans.
- Bake 25 minutes or until cakes are baked through and a toothpick inserted in to the middle comes out clean. Allow cakes to cool 10 minutes in pan, then turn out on to wire wracks and cool completely.
- Using a 6-in round cookie cutter (the BIG one), cut a circle into each cooled cake. Swap out the color for the plain cake. Then use a 3-in cookie cutter in the center of each cake and switch them centers out.
Directions for the Frosting:
- In a mixing bowl, beat the butter on medium speed until creamy, about 2 minutes. Add confectioner’s sugar, cream, vanilla extract, and salt with the mixer running on low. Increase to high speed and beat for 3 full minutes. Add more confectioner’s sugar if frosting is too thin or more cream if frosting is too thick.
Assemble the cake:
- Place the cakes on your cake stand alternating the colors of the cake. Spread frosting evenly on top of each layer as it is added to the cake plate. Decorate icing on top and side of the whole cake and add extra sprinkles if desired.
- Refrigerate the cake for at least an hour before slicing and serving. The time in the refrigerator ensures a neater cut.
- Cover and store leftover cake at room temperature for 1-2 days or in the refrigerator for up to 1 week.
Make ahead tip: The cake layers can be baked, cooled, and covered tightly at room temperature overnight. Likewise, the frosting can be prepared then covered and refrigerated overnight. Assemble and frost the cake the next day when you are ready to serve. Frosted cake can be frozen up to 2 months if you have room in the freezer. Thaw overnight in the refrigerator and bring to room temperature before serving. It tastes much better fresh though!