Red Velvet Cake Recipe + Ganache Recipe
So let’s step back in time to last month when we had our cake decorating day. Why on earth would we go back in time? Well I held off on sharing a recipe with you because I knew we’d be using it again! So my goal was to wait and share it this month.
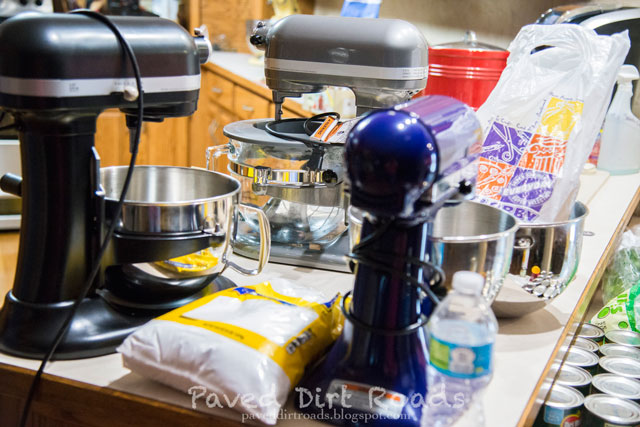
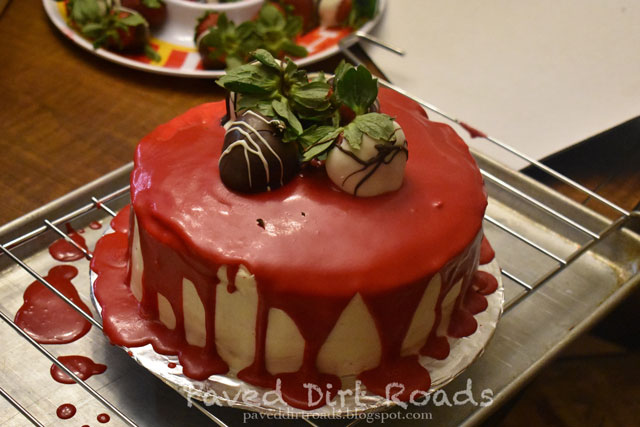
Here’s the story. So as I mentioned earlier we had a cake decorating day. That day when I showed up I already had my chocolate cake made, Deb chose a Red Velvet Cake, Kristi chose a butter cake, and Tracy went with a chocolate cake as well. Deb and I went to work on her cake when I showed up… and I use me loosely because I more so stood and watched. She had this Red Velvet Cake she absolutely loved so I took a picture of the recipe and sat and watched her make it. I believe it was out of the newspaper from years ago.
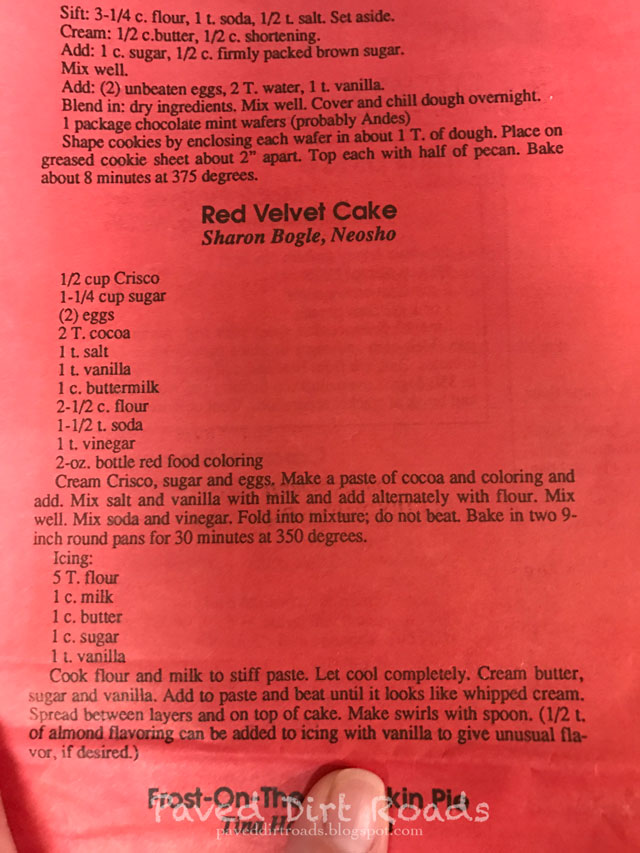
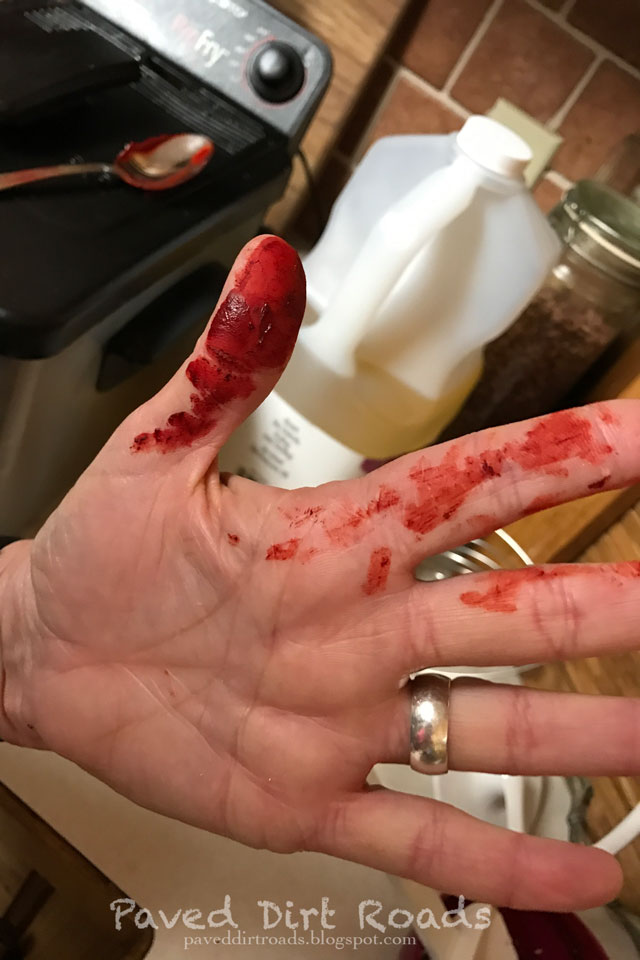
She didn’t make the icing that is included in the recipe though. Instead, she made a cream cheese icing that Tracy found for her. I’m not really sure of the icing recipe they used truthfully. Oh and the funny thing about this picture… Deb stained her hand, a t-shirt and her house shoe red…. whoops.
Then it was a matter of what to do over the icing to make it prettier. They added a ganache recipe over the top and topped with chocolate covered strawberries. This is when the whole idea of this post was born.
Kristi and Justin’s wedding was on Valentine’s Day. From what I heard, they originally weren’t going to have a wedding cake (don’t quote me on that though!). When Kristi saw Deb’s cake and better yet, when she tasted it, she asked if we could recreate this cake for her wedding. Hmmm… let’s think about that for a minute…. YOU BETCHA! It didn’t take a minute to come up with that answer.
Deb, Tracy, and I discussed it and we came up with the option to make a layer cake. Kristi found a cake stand (similar to what’s in the picture) and her bride groom said he could make that for her easily. Perfect!
The colors of the wedding were predominantly turquoise so we decided to make the ganache turquoise with a chocolate ganache for some color contrast. Then we decided to top it off with chocolate covered strawberries.
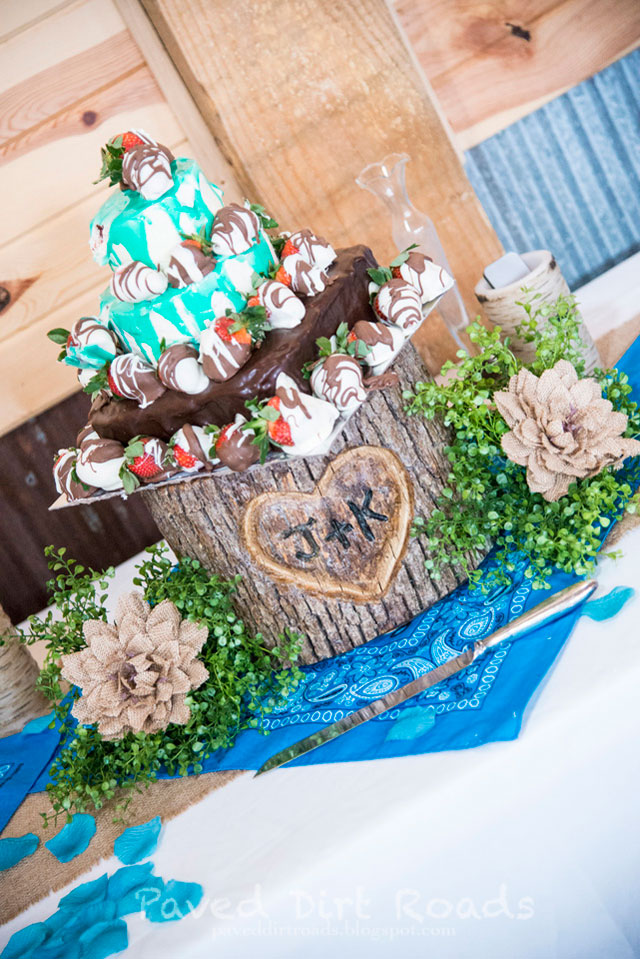
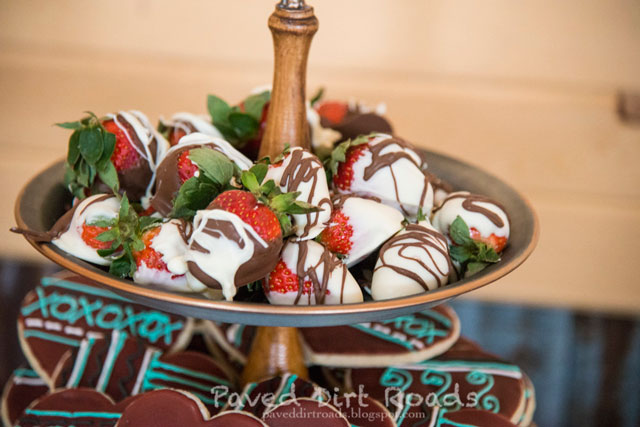
Chocolate covered strawberries are the perfect thing for Valentine’s Day! They (I was off watering cows before I could come over to help) made a quart (I think, let’s go a bunch) of chocolate and white chocolate covered strawberries for the cake. Then what was left over, we placed out for friends to eat. Let’s just say the cake was excellent and the chocolate covered strawberries were G-O-N-E gone.
On a side note… did you know that Ebay apparently has recipes? That’s where our ganache recipe came from.
Chocolate Ganache Recipe:
Ingredients:
- 1 c semi-sweet chocolate chips (or white chocolate if you want to dye another color)
- 1/2 c heavy whipping cream
- 2 tbsp light corn syrup
- Food coloring if dying white chocolate ganache
Directions:
- Combine semi-sweet chocolate chips and heavy whipping cream in a microwave safe bowl.
- Heat roughly 1 minute, stopping every 20 seconds to stir until smooth.
- Stir in light corn syrup (and food coloring if using) and let cool slightly until just barely warm.
Note: Placing bowl in the fridge helps speed this along if you’re in a hurry.
Now that you have the Ganache, this is how to get the “drippy” look
- Chill your frosted cake.
- Chilling the frosted cake helps slow the drip of the ganache down the side of the cake.
- this step also helps keep the icing from melting against the heat of the ganache.
- It is suggested to chill your cake for a couple hours to overnight.
- The perfect consistency of ganache is for the ganache to be pourable, but thick enough to coat the back of a spoon.
- Too thin? Melt some more chocolate chips and add.
- Too thick? add a bit more light corn syrup
- Pour the ganache in the very center of the cake, then using an offset spatula, spread evenly to the very edge of the cake, allowing the ganache to run off the edges of the cake.
- If you notice a bare spot, give the ganache a gentle push off the edge with the spatula so it will drip.
- Chill the finished cake until the ganache is firm.
- If planning on topping the cake with fruit, candies, a cake topper, etc… wait until ganache is firm.
*Pulled from my old blog Paved Dirt Roads