DIY How-to: Walls
I live in a Berm House. What does that mean? That means that basically I live in a basement with a roof. One side is “out” the rest of the 3 sides of the house are surrounded by dirt (or we should affectionately call it soil because it does house grass and dirt is a four letter dirty word if you ask my Soils Science Professor… Dirt grows nothing, soil does… anyway) So almost every room in my house has a concrete wall in it.
Ah the lovely concrete walls… they are so much fun to deal with… You cant hang pictures easily, the have stupid holes in them that on lighter colors looks like fly poop… etc etc etc. But that’s ok… my house has quirks that makes me scratch my head and say “huh” but I’m pretty sure every house has that in one way or another… But we like our house, so we deal 🙂
The previous owners of the house, in the bedroom (and the living room, but we aren’t touching it) had wainscoting up… seriously… wainscoting? In a bedroom? This isn’t the 1970’s and that’s not very romantic!!! So we started deciding how we wanted to remodel our bedroom to suit us. Now I should mention a while back, before we were really even “dating”, we’d decided on our bedroom color. Yes I know, call us crazy, but there was something about this relationship that I just knew was going to “stick”! Anyway we chose blue and brown, hence the reason for our wedding colors of teal and brown… incorporate our wedding into our bedroom 🙂 So I’ve have the material picked out for my bedroom suit (even before we were “dating”, but he agreed on it with me b/c I sent him photos to make sure he approved) since October of 2009. It’s been sitting in my mom’s sewing room since December of 09. She’s my seamstress 🙂
So… we’ve been picking up bits and pieces along the way so we didn’t have a huge expense all at once for our room. And maybe I should have saved some of that explanation for the room reveal post… because this is a DIY post… but I had to give some background 🙂 That’s just my style.
So with the concrete wall and ripping the wallpaper/wainscoting off the walls, our walls didn’t match, plus they glued the friggin wainscoting on so we have funky glue marks to deal with… *sigh*… So the husband and I decided to do this project to make all 4 walls look alike! (We did this in our MIL room as well on the concrete wall)
Items needed:
Roller
Roller pan
paint brush
tissue paper
paint
LOTS OF PATIENCE!!!
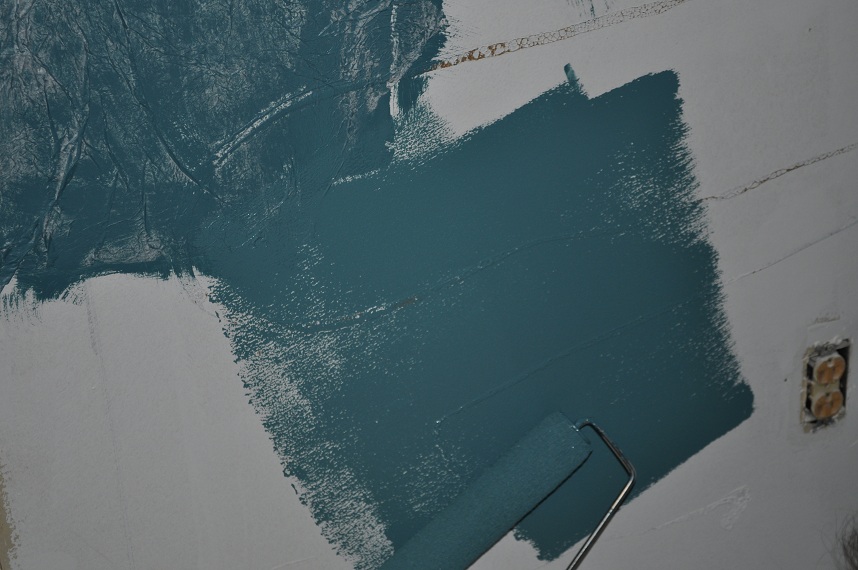
1. Start by rolling on your “glue” coat of paint. Basically this is just paint that will hold the tissue paper on.

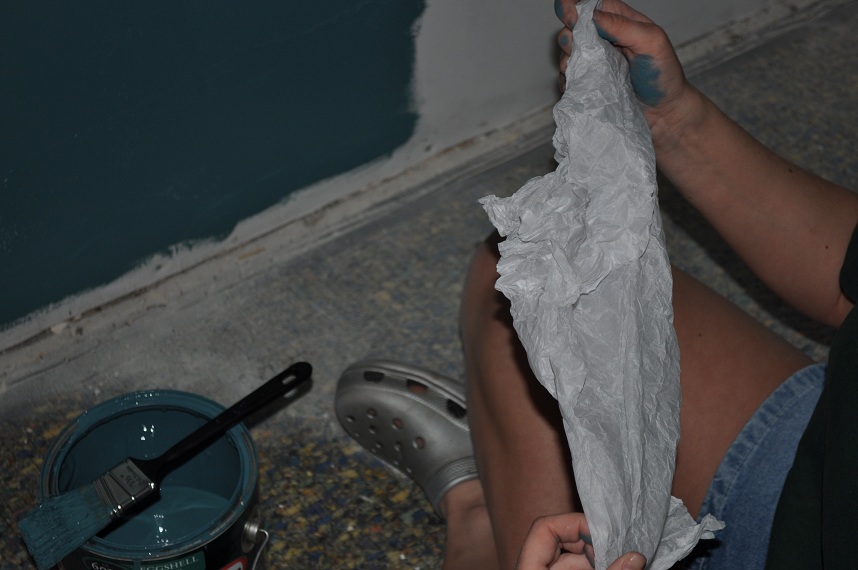
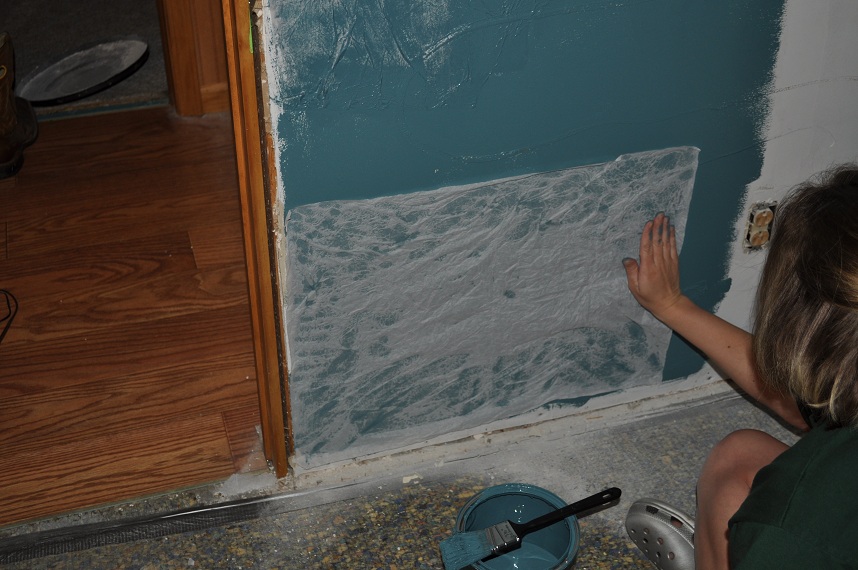
2. Once you have the glue coat on wad up a piece of tissue paper. (Does this shot look familiar, just different hands?)
~Note: This is tissue paper like you wrap presents with just to clarify.
~Note: It can be any tissue paper, had we known we’d have needed it we’d have saved tissue paper from Christmas.
~Note: Even Victoria’s Secret tissue paper works, just ask my MIL wall 🙂

3. Once it’s all waded up, now pull it back out. Basically you want the tissue paper crinkled.

4. Now stick it into the glue layer.
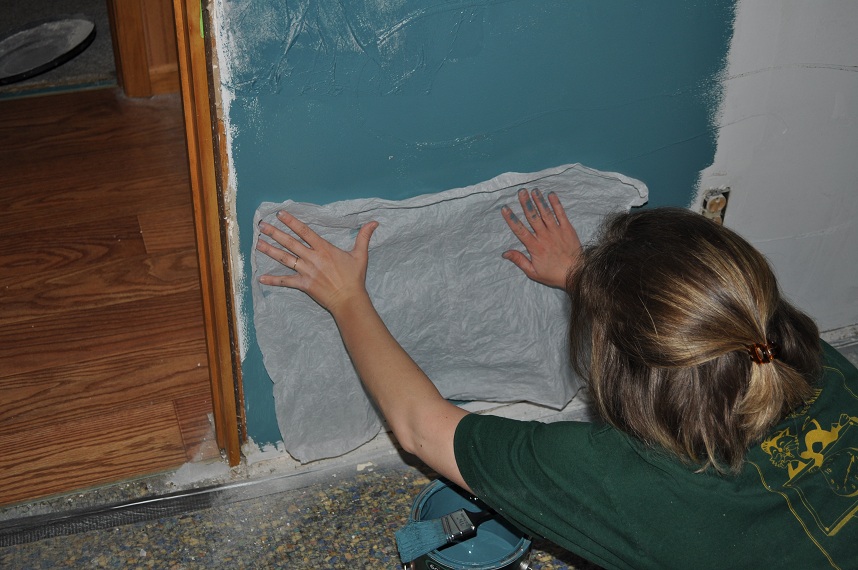
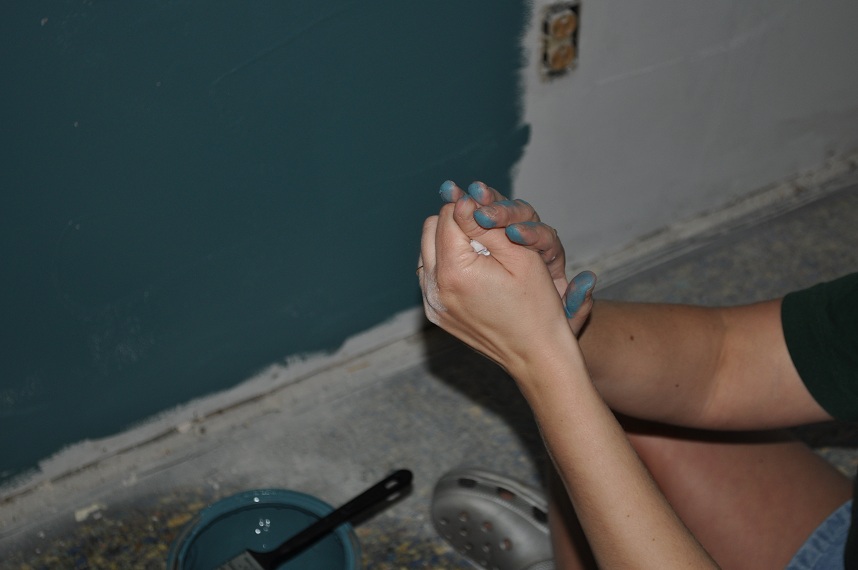
5. And press it down. See now why my hands look like a smurf in other shots?

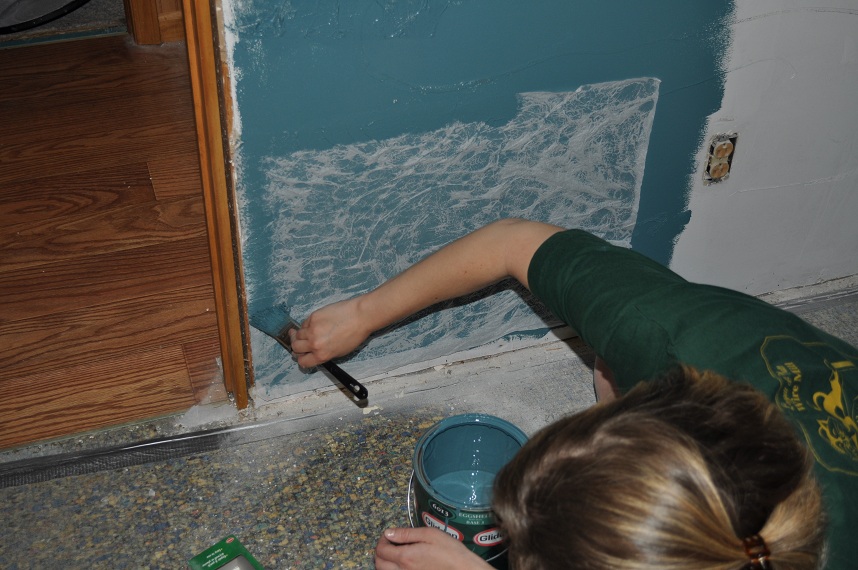
6. Now comes the patience! Take your paint brush, dip it in the paint and dab, dab, dab, dab, dab, dab

dab, dab, dab, dab, dab, dab, dab, dab, dab

dab, dab, dab, dab, dab, dab, dab, dab, dab,
and yes you’ll have to keep re-loading your paint brush with paint through all of this…
dab, dab, dab, dab, dab, dab, dab, dab, dab, dab,
dab, dab, dab, dab, dab, dab, dab, dab, dab, dab,

dab, dab, dab, dab, dab, dab, dab, dab, dab, dab, dab, dab, dab,

dab, dab, dab, dab, dab, dab, dab, dab, dab, dab, dab, dab, dab, dab, dab, dab

dab, dab, dab, dab, dab, dab, dab, oh and keep in mind… the wrinkles, their ok, that’s what you’re going for, it’s called texture 🙂 It hides the texture that’s already on the concrete walls, it hides the lines in the concrete walls, it hides the glue marks, dab, dab, dab, dab, dab, dab, dab, dab, dab, dab

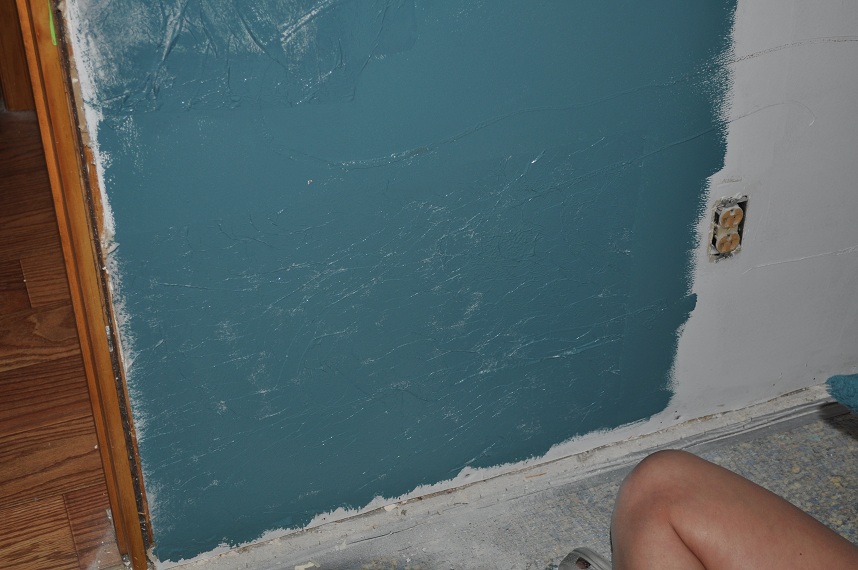
I’m loving life right about there. That’s actually the last part of the walls left to do (what you see that’s white)

8. Once you have it all dabbed on, then you overlap your next piece and go at it some more. Overlap half, 2/3rds, 1/4, just over lap. PC got annoyed with me b/c I’d turn them all directions… oh well 🙂 I didn’t like it to be uniformed… you don’t want that anyway 🙂
1. Now when we first started this venture, my mom said you were to just work with 1/4’s of the tissue paper at a time. Yeah that takes even longer! Once you are around light switches, outlet’s, door frames, etc you have to work with smaller pieces, but here, we used full sheets. Worked just great.
2. Mom said you had to tear off the outside edges because the straight lines would show otherwise. Overlap and the crinkles will save you from “straight” lines. Plus if you start thinking one shows, rip a smaller piece and slap it on in a funky direction on the line and voila, your straight line is hidden.
3. We finally learned after a little debate and practice (on the concrete wall that already had texture) you can lay your glue coat down, wrinkle the tissue paper, and then go over it with a roller, just be careful not to go back and forth, just go one direction. Works great and you can seriously cover some wall!
To finish it off, once All the tissue paper is up and has dried over night, you can run over the walls with the roller dipped in the paint color you chose to make the coat consistent and catch any white spots you may have. (look close, you can see a few in mine, we don’t have the roller coat on yet in these photos). Let that dry 24 hours. Then the very last step is to take a Glaze with just a hint of color and you smear it on with your hands and a pair of gloves. Our glaze color is brown. You’ll have to for the reveal photo to see the finished product.
We are in full swing Operation Room Back because I want my room back!!!!!! 🙂 This is week 2 of sleeping in the MIL room.
And for those of you joining me that weren’t around last summer… our spare room is called the MIL or Mother in law room just so you know what the MIL room is 🙂
And let me add, our room looks AWESOME!!!

Well well well! I can't wait to see the room reveal! I have to say……..you have WAAAAY more patience that I do! Can't wait to see it!
Wow! Thats a lot of work but it looks nice. Aren't renovations fun? hee hee!
Wow Nicole! I don't think I'd have the patience to do that!! LOL You go girl!! 🙂
wow talk about hard work! you guys did a fabulous job!
wow talk about hard work! you guys did a fabulous job!
More pictures are a must! You do good work, lady. More than I'm willing to right now. Sigh!
Oooh, I saw something similar to this on TLC's “Moving Up” where they used teal color tissue paper on light blue walls. It looked so cool. Can't wait to see your final result! 🙂
WOW! You are much better than I am… I would never have the patience to do all that… Can't wait to see the finished room. 😉
Stef at TooMuchToDoSoLittleTime.com