Starting Vegetables from Seed… Coronavirus Day 35
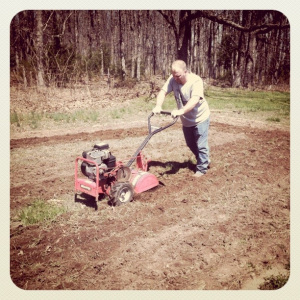
I got a little excited back at the end of March trying to get plants in the ground. In case you wondered… none of them germinated. None of them came up. I decided to give up… although Grandma told me to give it just a little more time. But I don’t have high hopes. So I decided to go the route of starting them indoors and then transplanting them. What do I have to lose at this point? I still have time to try this method and if it doesn’t work, try planting directly in the garden again. I guess that’s one good thing about starting early.
I still haven’t given up hope on finding potato starts, but I’m not finding them either. Fingers crossed I find some… but…
Back to the day at hand…
Starting Vegetables from Seed.
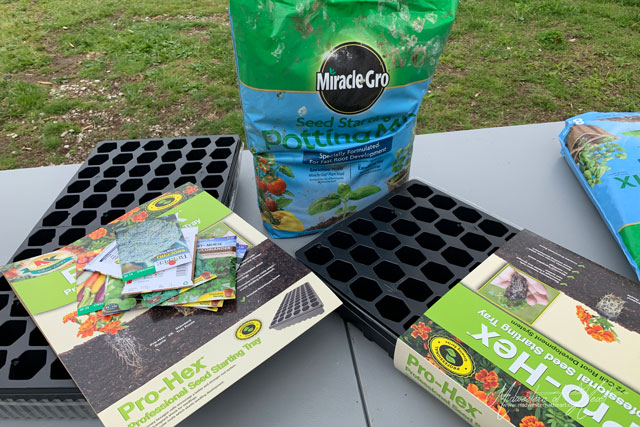
- You’ll need a good potting mix. Typically I try to use from our soil pile, but I actually bought seed starting potting mix.
- Seed trays that include an outer tray, inner tray, and the clear plastic dome.
- Seeds (of course)
- Water.
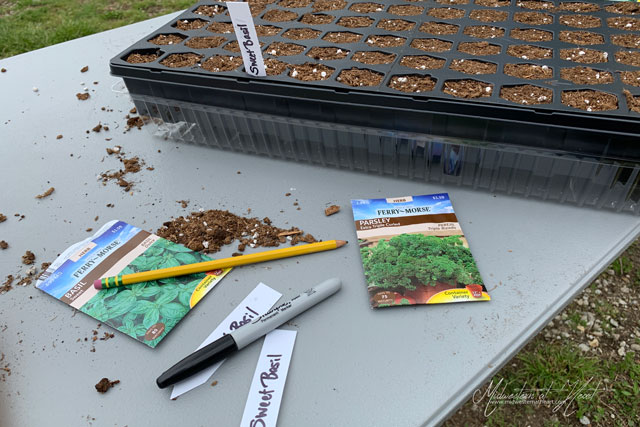
- Optional: Seedling markers.
- Optional: Seed Dibber or pencil. Helps measure how deep to plant the seeds.
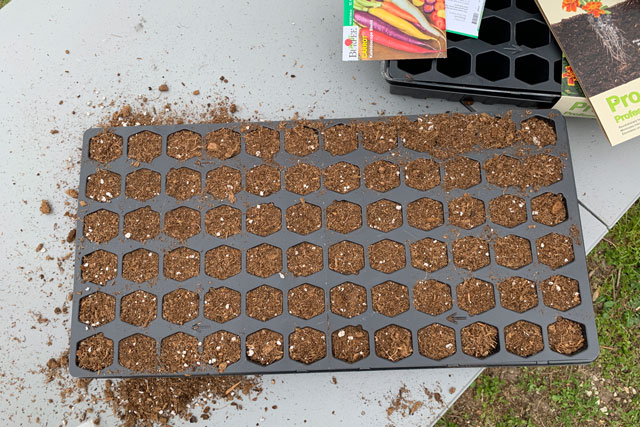
First things first, you’ll want to put the soil into the individual trays.
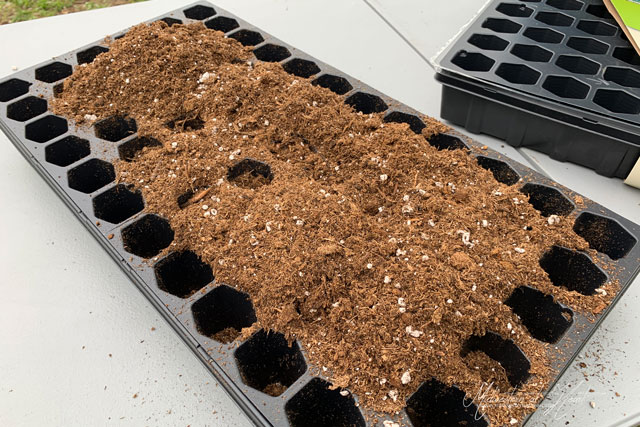
Fill each tray to the top. This round I decided to plant:
- Carrots (don’t do this. Carrots prefer to be started directly in the ground… but this was attempt number 2 so I threw caution to the wind)
- Brussels Sprouts
- Cilantro
- Rosemary
- Parsley
- Basil
- Broccoli
- Artichoke
- Cauliflower
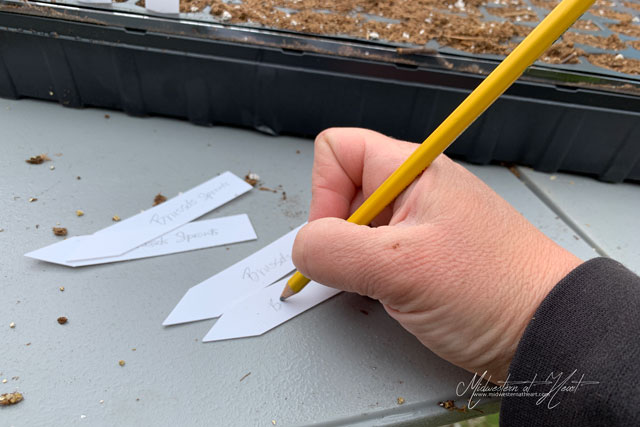
Make sure you have seed markers. Obviously you can use anything, but when you plant multiple plants into one planter, you definitely want to remember what is what. I started out writing in permanent marker. I actually found pencil worked better.
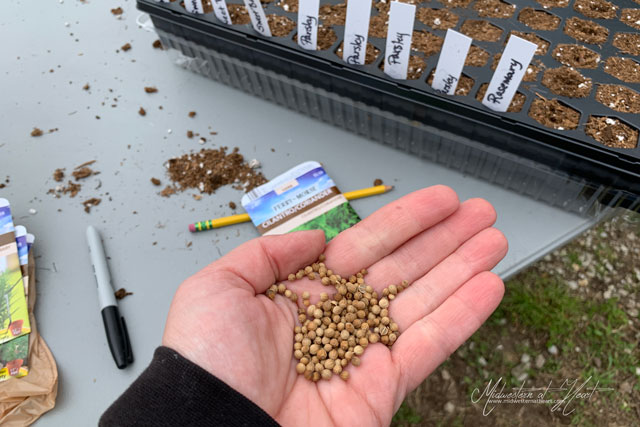
I found it was easier to dump the seeds into my hands. Then use a pencil (I didn’t have a dibber) to create a little hole in the soil so you can plant your seeds. Read the package directions. They tell you exactly what to do. Most say to plant 2-3 seeds per hole and then once they start growing, thin them out.
And definitely make sure you water them. The clear dome will help keep a sort of greenhouse effect going on. Once you have your first sprout, you are to prop the lids open.
You also want to make sure you place either under a shop light or in a very lit window. And depending on where you are starting them, it doesn’t hurt to put a heating pad under the container to help keep the soil warm.