PW’s Red Velvet Cake + How to Make Buttermilk
So you remember yesterday’s post? How to Make Cake Flour?
Oh, you do? Good. Today I’m going to show you what I plan on using this Cake Flour for! 🙂
Remember that 101 list that has been hanging over my head?
Well, number 99. Make all the recipes in the Pioneer Woman’s Cookbook… Well, I think it’s been a long while since I’ve made something from there… Over the weekend I made 2, yes that’s right… not one but two recipes. Her Red Velvet cake was for Valentine’s Day goody day at work. The sad part was I forgot about it until you know… 8:30 pm and had to make the cake flour while I was at it… but oh was it good!!!
So here you have it:
ingredients:
1 cup shortening…. check
1¾ cups sugar… check
2½ cups cake flour… I can make that… check
1¼ teaspoons salt…. check
2 large eggs…. check
1 cup buttermilk… I can make that… check
1 teaspoon vanilla extract… check
1 teaspoon baking soda… Soda, not powder… check
1½ teaspoons vinegar… check
1-ounce red food coloring (use 2 ounces if you desire a deeper red color)… hmm mine isn’t liquid… it’ll have to do… check
1½ teaspoons cocoa powder…. check
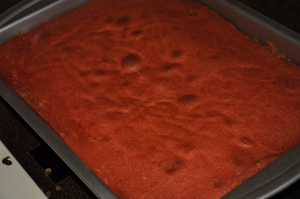
1. Preheat the oven to 350ºF. Spray two round 10-inch cake pans (2 inches deep) with nonstick baking spray. I made mine in a 9×13 pan… I was too tired to make 2 round cakes and then ice and stack them…
2. Blend the shortening and sugar in a mixing bowl, using an electric mixer. Set aside. Do you see this measuring device? It’s super-duper handy when measuring out shortening or peanut butter. You pull your bottom down to the fill line, pack it in and then pop it out. This particular one is from Pampered Chef… I’ve had it for years. You can also get them from Bed Bath & Beyond. If you don’t own one, run, don’t walk, and go get one now!!! The Pampered Chef one, one side measures dry goods, flip it over, and measure your liquids. The BBB one you use the same for both solids and liquids. I’m not sure how well it holds liquids though. I own one of them too (bought it after I was done with college and this one was stuffed away in storage) but I only ever measured shortening in it.


Another extremely handy tool to own is a small cake spatula, like this. This one is Wilton however Pampered Chef has one of them too. I own it also, they look identical :). Anyway, they make it so easy to pack your shortening, peanut butter, etc down into the measuring cup.

Then you push the bottom in, it moves your shortening up and you just scrape it off the bottom. See how simple that is! Like I said, if you ever deal with shortening (for cake decorating) these 2 things will make your life so flippin easy you won’t know what hit you!

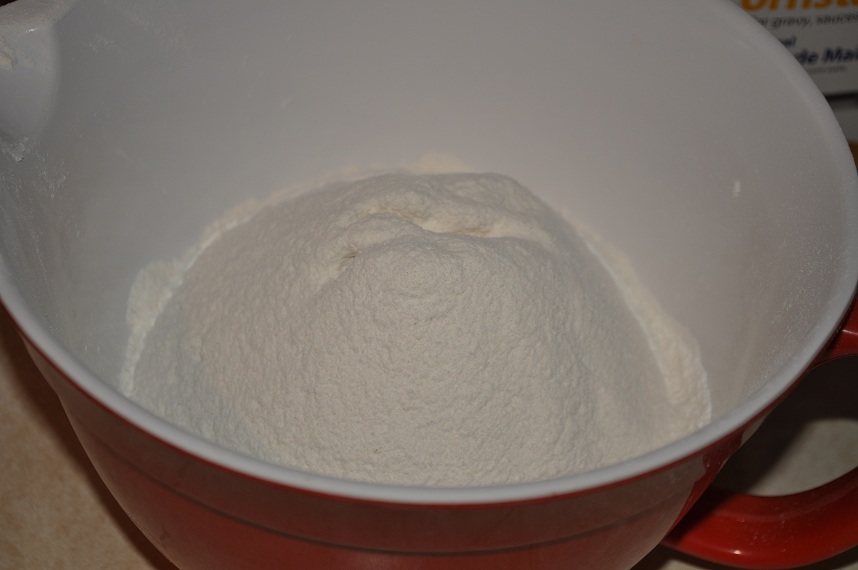
3. Sift together the flour and salt. Set aside.


Now if you don’t have buttermilk on hand, b/c who does unless you go buy it especially for a recipe… just use some low-fat milk and vinegar. 1 cup of low-fat milk with 1tbsp of vinegar, let it sit a small amt of time and you’ll have buttermilk. See You don’t have to buy it either 🙂

4. Mix the eggs, buttermilk, vanilla, baking soda, and vinegar in a separate bowl. I used my 2 cup measuring cup. When I put the baking soda in, it fizzed up… I was hoping it wouldn’t explode over the top. I lucked out, it never did… whew!

5. Alternate adding the flour mixture and the buttermilk mixture to the shortening mixture in the mixing bowl, mixing after each addition.


6. In a small bowl, mix the red food coloring and cocoa powder. Since I didn’t have liquid food coloring, only Wilton Paste (that’s what I use in my cake decorating) I just put the food coloring and cocoa powder straight in and let the paddle mix it for me.
7. Pour into the mixing bowl.

8. Mix until just combined. Don’t overbeat.
9. Pour the batter evenly into the cake pans and bake for 25 minutes, or until a toothpick comes out clean. Allow to cool in the pan for 20 minutes before removing the cakes from the pans. Cool completely before icing.
Now it’s time to wash the dishes so we can start to make the icing…

Cream Cheese Icing ingredients
1½ 8-ounce packages cream cheese, at room temperature
¾ cup (1½ sticks) unsalted butter, softened
1½ pounds powdered sugar
¼ teaspoon salt
2 teaspoons pure
10. Now, make the icing. Place the cream cheese and butter in a mixing bowl and whip until smooth. Sift the powdered sugar and add it to the bowl. Add the salt and mix.
11. Add the vanilla and mix until smooth.


Here is my finished Cake

12. Place one layer face down on a cake plate or pedestal. Note the cocoa swirling throughout the cake!
13. Plop a large spoonful of icing in the center of the layer.
14. Using an offset spatula, spread one-third of the icing evenly on top of one layer, making sure to get the icing all the way to the edges.
15. Place the other cake layer on top, face down.
16. Ice the top . . .
17. And ice the sides with the remaining icing, being careful not to loosen crumbs as you go.
18. Refrigerate the cake for 20 minutes before cutting and serving. (Because of the butter,
the icing will become soft at room temperature.) To serve, cut a large X in the refrigerated cake.
19. Then cut smaller slices within each quadrant of the cake. I love red velvet cake. It’s almost too pretty to be eaten. I said almost . . .
This was my iced cake. In the end, I wound up putting heart sprinkles on them also that I got from Christi, Life on our Iowa Farm, in a giveaway she was doing on her blog. If you’ve never been there, you should check her out!

Helpful Hint: Store leftovers in the fridge.

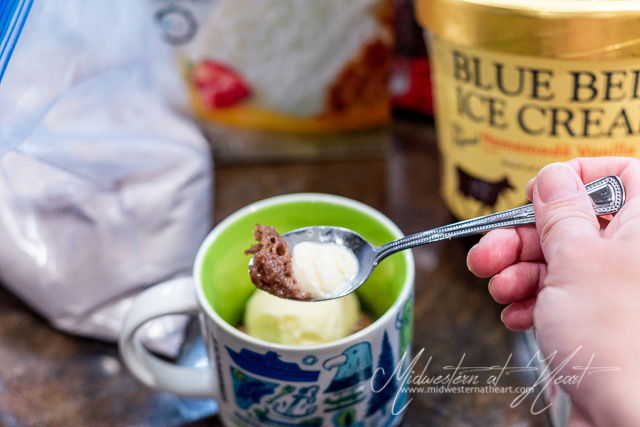

YUM! I love red velvet cake!
Love red velvet cake. I enjoy making it from scratch when I have the time but I recently discovered box mix. Not as good, but SO much quicker & easier – I'd never seen it before!!
P.S. – I have that pampered chef cup too!! 🙂
My hubby loves red velvet cake!
You're such a little Holly Homemaker. The cake looks beautiful. Thanks for the 411 on the book trade thingy on Rachael Ray–I'll check it out.
No! No sweet!
Okay, maybe just one piece. 😉
Did ya save me some ?I will bring the coffee
Thanks for sharing this! NOM NOM NOM! 🙂
O….M….G….That looks friggin good!! Thanks for the buttermilk thing too! I can never find it in the grocery store!!! xo
This looks absolutely delicious!! Thanks so much for sharing!
Sounds yummy!!!!
Stef at TooMuchToDoSoLittleTime.com