How to Freeze Okra
When I decided to start and plant my garden this spring, I asked my family what they would like to see planted. I mean, after all, they were going to be reaping the rewards too. At that point in the day, I think that we were eating lunch (or dinner… but we were definitely eating) and the oldest and my husband had fried okra. They both immediately chimed in and said, Okra.
Okra… um… okay. I know nothing about making fried okra, but okay, I’ll figure it out. Oh wait, you mean you can eat okra that isn’t fried. Okay, I’ll learn about that too while I’m at it. Because, why not.
One thing you want to take into consideration when planting any vegetable (or flower or herb) is their favorable growing conditions. Vegetables, flowers, and herbs all have temperatures where they thrive. If you force them to grow outside those conditions that they love, they will spend more time and energy trying to combat those unfavorable conditions.
Okra’s Favorite Growing Conditions
Hot. Okra likes heat. Okra falls into the same growing conditions as Eggplant, Hot Peppers, Sweet Potatoes, and Watermelon. The temperature range they prefer is 65˚-95˚F with that optimal temperature range falling between 70˚-85˚F. These temperatures would be air temperatures.
Okra prefers soil temperatures ranging from 60˚-105˚F with the optimum range falling between 70˚-90˚F. If you want their optimum soil temperature, it falls around 95˚F. So as you can see, they love the heat.
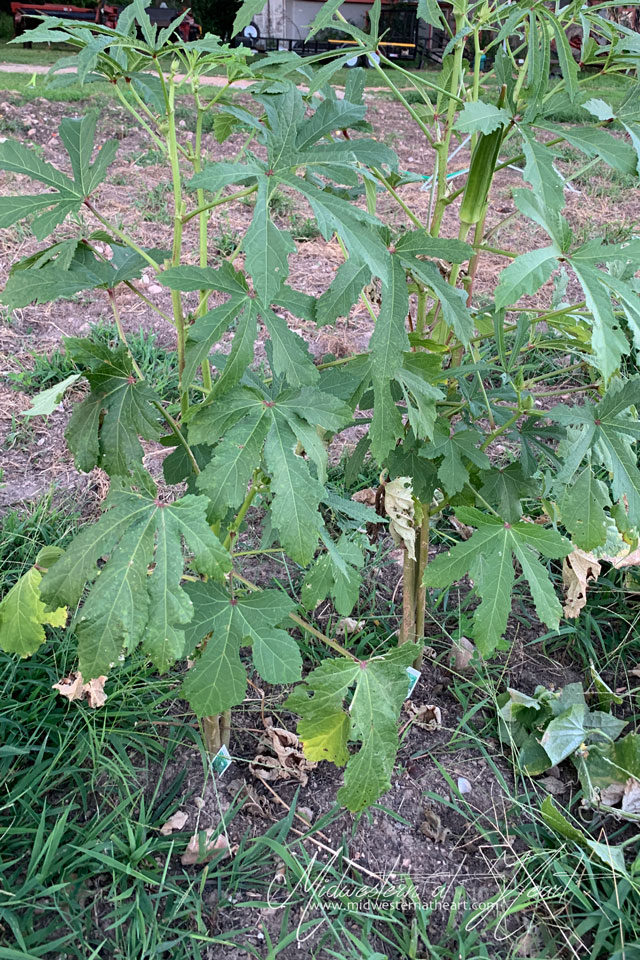
I attempted to grow okra in my greenhouse. Didn’t work. Then, I attempted to grow okra in the garden. The thing was… when I planted the garden the second time around, I planted cucumbers, carrots, and okra… but I couldn’t remember which one I planted where. I finally figured out the carrots, but the other 2, it was anyone’s guess.
Eventually, I went to the farm store and bought 1 okra plant, then bought a second okra plant at a greenhouse. The third okra plant I wound up with, I actually grew from seed. Patience, it’s still a thing I lack sometimes.
I picked my grandma’s brain bout okra. (I pick her brain about a lot of things. When we lose that generation, we lose a LOT of information/knowledge!!) Grandma told me that once the okra came on, it would be running out my ears. Now, I can’t say that I’ve had it running out my ears, but my 3 little okra plants have done a nice job.
About Okra
Okra has many health benefits:
- Controls blood sugar
- Reduces cholesterol
- Prevents constipation
- Prevents/controls asthma
- Reduces sore throats
- Boosts the immune system
- Packed full of Vitamin A
- Vitamin C
- Carotenes that help with Vision
- And minerals such as magnesium, calcium, manganese, and iron.
Now… If you fry Okra… do you lose some of those health benefits? Possibly… possibly not. I’m not a registered dietician. haha.
When to Harvest Okra
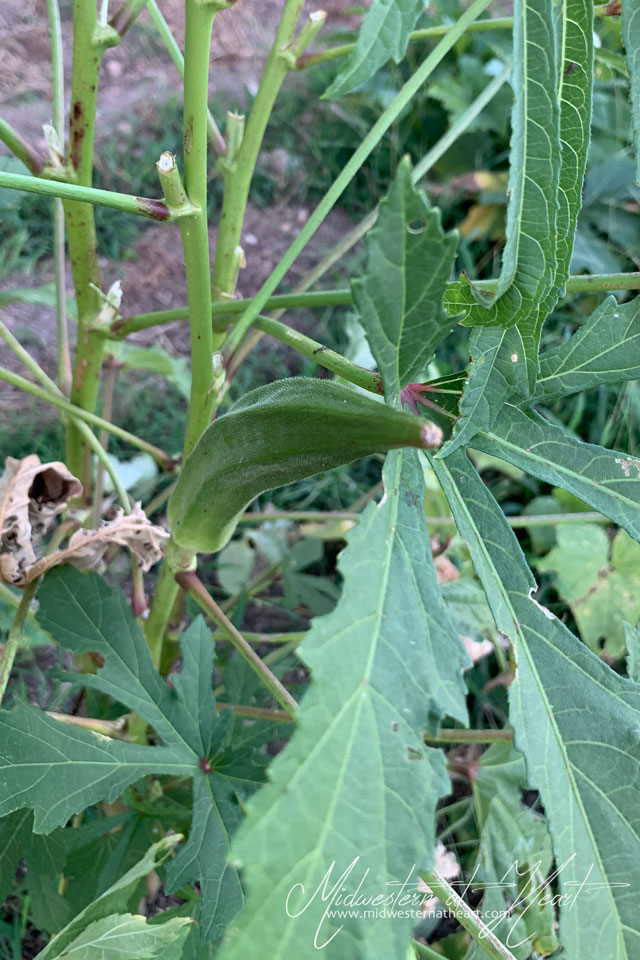
Once planted, okra grows quickly, ripening about 60 days after planting. The plant continues to grow and produce pods until the first frost. Harvest okra as soon as it ripens as okra left on the plant too long becomes tough and woody.
- Okra should be 2-4 inches long
- Pods are bright green (usually ripe 5-6 days after you see flower)
Continue to check pods at least every other day, especially in warm weather as pods will ripen quickly.
Once you have your pods picked, it’s time to eat or preserve them.
How to Freeze Okra
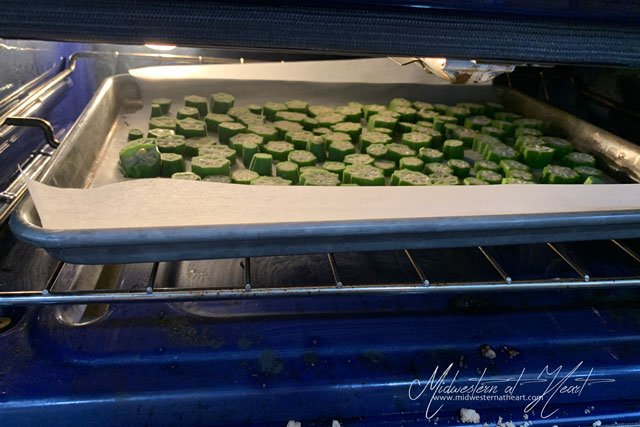
Preheat your oven to 350˚F. Why? Well, when you cut them up, they are a little on the “wet” side. This helps to dry them out for storage.
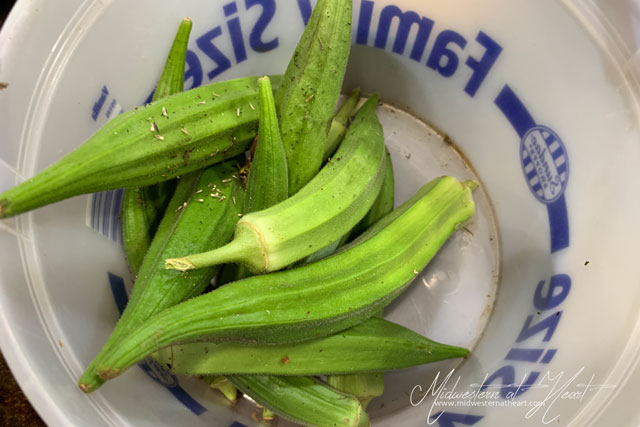
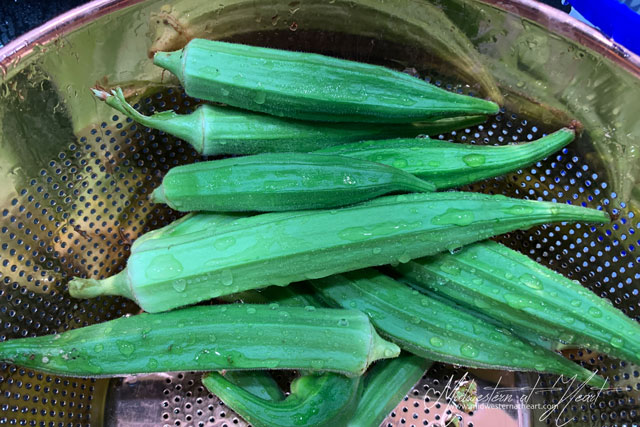
Wash the pods thoroughly and use a colander to let them dry.
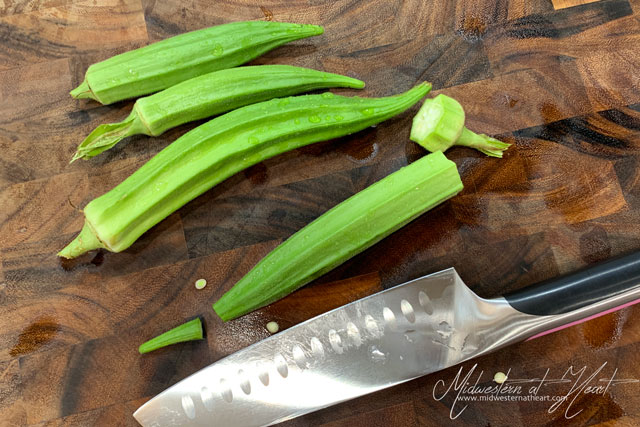
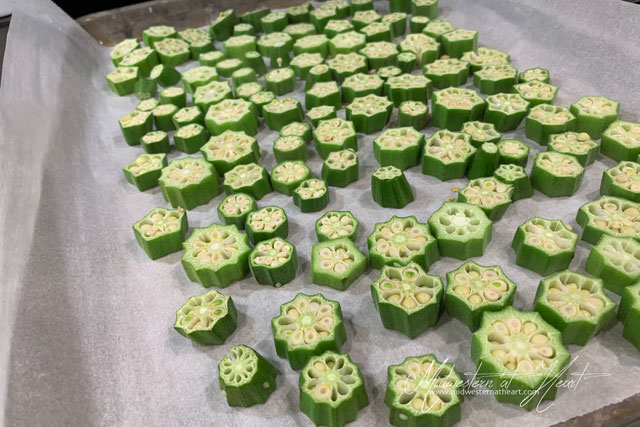
Cut off the tops/stems and the end. Then cut your okra pods into about 1″ (bite-size) pieces.

Place the okra on a cookie sheet (lined with parchment paper for faster cleanup) in a single layer. Once the sheet is full, place the sheet in the oven for about 8 minutes.
Pull the sheet out and allow them to cool completely. Now here is where you can place them in a ziplock freezer bag and freeze or… place the okra bites into a bowl. Add flour and cornmeal to the okra covering them. Then they are ready to fry up when you are ready.
If you leave them plain, you can coat them later or use them in gumbo or stews.
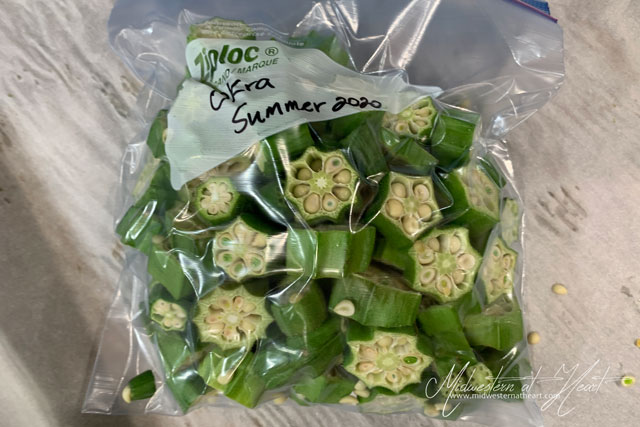
Label your ziplock bag and place it in the freezer until you are ready. One helpful tip is to place the tray into the freezer and flash freeze them (30 minutes to overnight in the single layer). This makes it easier to pull you what you want when you are ready.
How to Freeze Okra
Ingredients
- Okra
- Colander
- Knife
- Sheet Pan
- Parchment Paper (optional)
- Stainless Steel Bowl (optional)
- Zip Lock Quart Freezer Bags
- Flour/Cornmeal
Instructions
- Preheat oven to 350
- Wash Okra & drain in a colander
- If freezing for frying cut off both ends & cut into bite-size pieces. (about 1 in)
- If freezing whole trim stem end leaving the stem intact
- Put okra (cut or whole) on a baking sheet lined with parchment paper
- Put in the oven for about 8 min.
- Remove from oven
- Let cool completely
Notes
*If freezing cut okra for frying, place in a large stainless steel bowl to coat with flour and Cornmeal. You don’t have to put flour on the okra before freezing but this step makes it easier for future use.
*If you as is you can use in soups & gumbos.
*You can also freeze it in a single layer on a sheet pan & put in bags when frozen. This keeps it from sticking together and you can take out what you need as you need it.


You have some nice looking okra. Congratulations!
I hope you are all doing well.
God bless.