
Neapolitan Mousse Cake

Guys, it’s time to start thinking about my birthday cake. Yes, I’m making my own birthday cake. I chose to. Yup, that’s right, I want to. Remember, pretty cakes make me happy. You see that one above? That one is gorgeous and made me happy!! In fact, I’m debating if I want that one for my birthday or not. There are sooooooo many cakes to make, I just can’t decide what I want.
Neapolitan Mousse Cake
I must admit, the cake rounds are finally getting their act together. That little punch out in the middle is GREAT when you are trying to do a huge tall stacked cake when you need to put a dowel in the middle to help stabilize them. Used to, you had to try and hammer them through the cardboard and hope it worked. Now… you just have to find the middle and you have extra help.

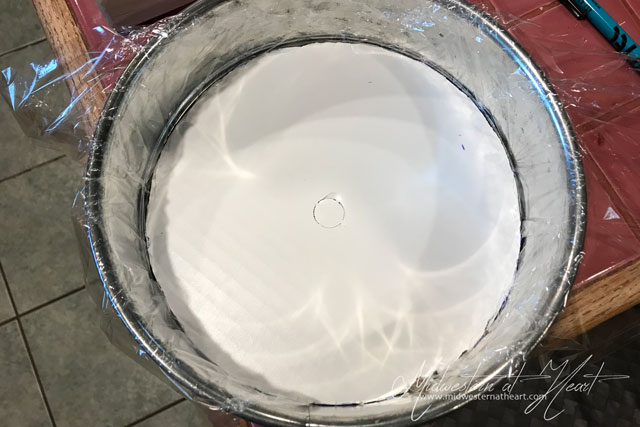
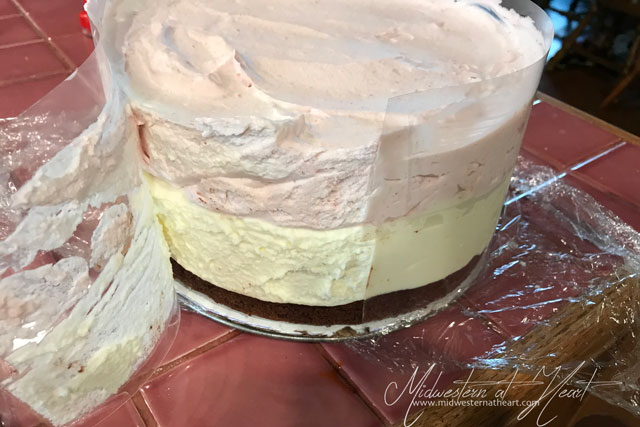
So this time around I had to cut the 10″ circle down to 8″ because I didn’t have any 8″ cake circles yet. I do now, but then I didn’t. The other thing that is helpful is to line your pan with cling wrap. It helps make it easier to get the cake out. I did have a cake collar also, which you definitely want, but both are helpful!
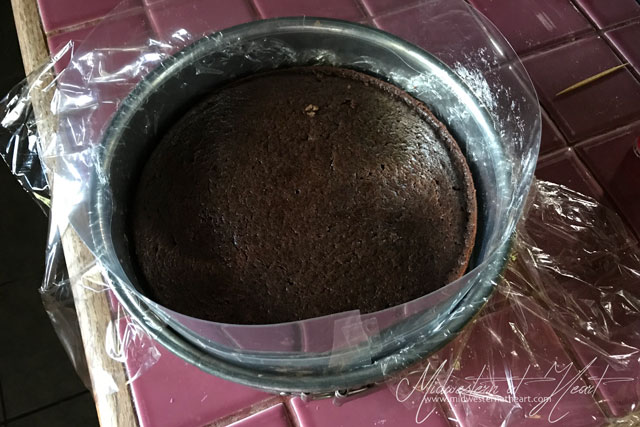
You’ll definitely also want a springform pan for this. You could probably use just the cake collar, but the springform pan allows you extra stabilization. The cake collars also help to make it a little taller because this is a tall cake. My springform pan is like 2″ tall. The cake itself is closer to 3″ or 4″. Don’t ask me, measurements aren’t my strong suit. But… the cake collar allows you to add some extra height stabilization. The other thing I should mention is my cake collar is like 2″. Ha. So I had to use tape and cut 2 pieces, tape them together, and bam, I got like 4″. Again… measurements aren’t my strong suit. So just go with it!
The Mousse
So the chocolate layer is a chocolate cake. That gives your cake a solid base to put the mousse against. I actually did see a recipe for a 3-layer mousse cake, but I think it had a crust of some sort. I should probably go back and read it. In fact, I’ve decided to actually make it at some point. Don’t worry, you’ll see all my downfalls! or wins, whichever.
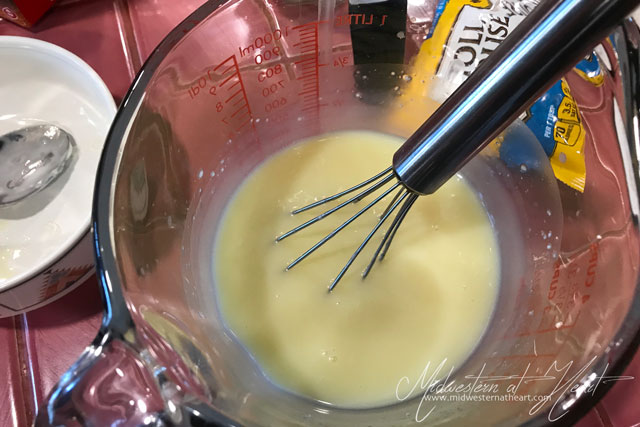
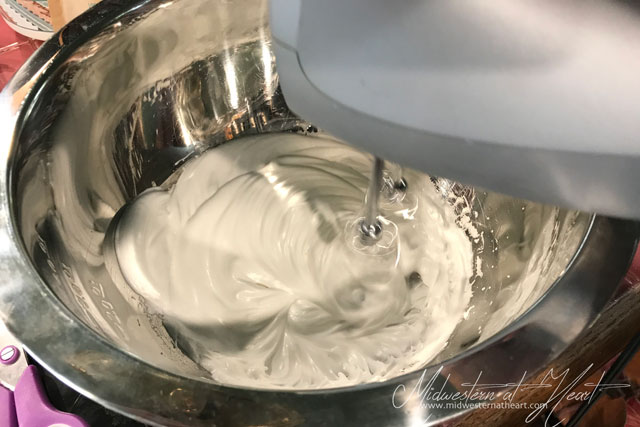
One mousse layer was strawberry. You make your own strawberry puree, then add it to the heavy whipping cream and whip it up. The other layer is a white chocolate. Yum! You melt white chocolate chips and add that into heavy whipping cream. There is a little refrigeration time between each layer too. Basically, just enough time to make the next layer.
The unveiling
Once all the layers are added, you then put them in the fridge to totally set up. Then you take it out of the springform pan. That cake collar and clingwrap helps. Then you use your icing scrape to make it smooth.
The Top
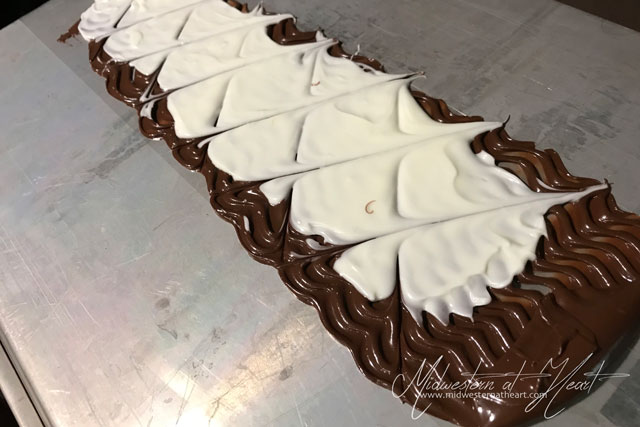
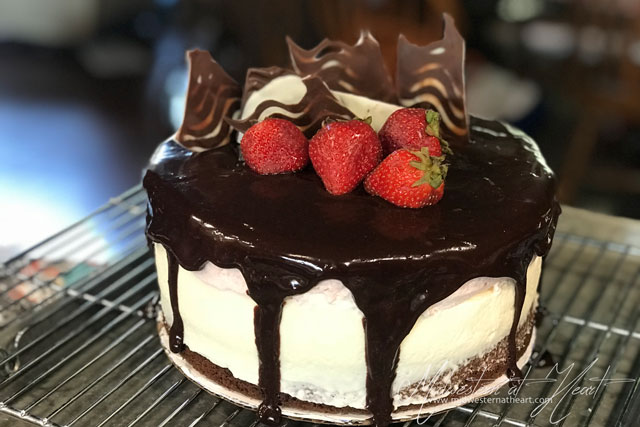
Next, make the chocolate ganache on top. One of the best ways to make your drippy side seize up and make the pretty “legs” (is that the right term??) is to make sure your cake is cold. The warm ganache and cold cake help make it freeze in place. Then you get different lengths, cute “legs” (we’re going with legs), and a beautiful drip all around.
Being a mousse that you are putting it on and dripping it down, allow the ganache to cool just a smidge. Don’t put HOT ganache on a cold mousse. It might not end well.

I got this recipe out of one of the latest cookbooks I’ve acquired, Simply Beautiful Homemade Cakes by Lindsey Conchar of the blog Life, Love, & Sugar. Anyway, she used just chocolate chards to make the top along with strawberries. I used a trick I saw from Tatyana’s Everyday Food, although mine didn’t nearly turn out like hers did. I must have screwed up somewhere. It happens.
The finished product
You’ve obviously already seen the finished cake if you looked above, but how gorgeous is that? Seriously! And that taste. The taste was out of this world. It was a little rich, but it’s dessert… what do you expect? I took it to dive club meeting along with Tiramisu French Macarons and Strawberry Lemonade French Macarons. I came home with nothing left. That made my heart sing! All my food was thoroughly enjoyed! Yey!
Next up on the drawing board… my cake. We’ll see what I come up with. I know I want French Buttercream on it!
*This post contains Affiliate Links*