Pumpkin Purée
Let’s make Pumpkin Purée from the fantastic pumpkins you grew in your garden! You didn’t spend all summer growing pumpkins for nothing, after all. Oh, I guess… you can use them for Fall/Halloween decorations… but you should probably put up a few just because, right? Well today, I’m going to show you how!
Pumpkin Purée
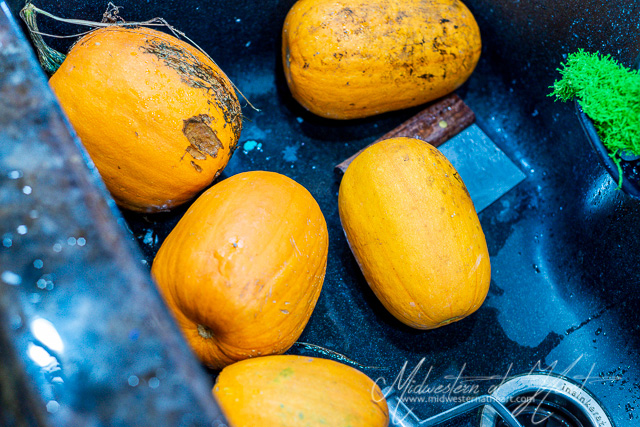
1.Start with the pumpkins. Now, my pumpkins here are a little smaller than they should be, but sometimes you have to harvest pumpkins early. That was the case here. These pumpkins weighed in between 4 and 6 pounds. Wash them off. While you will remove the outer shells, it is best to clean off the excess soil. Preheat oven to 375˚F.
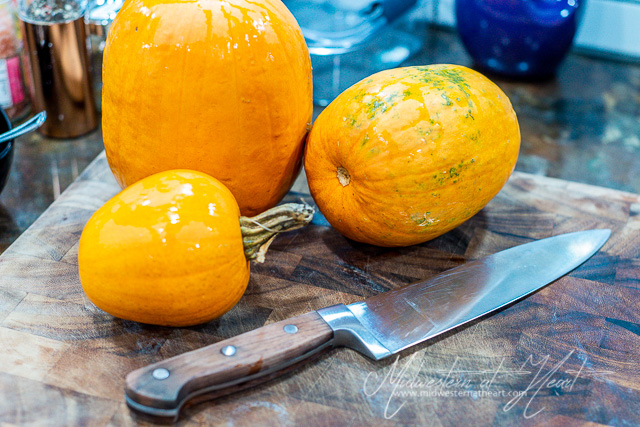
2. Make sure you have a sharp knife to be able to slice the pumpkins in half. You’ll also want a spoon, olive oil, and salt. Plus, go ahead and prepare your pans. Get a large jelly roll pan (half sheet) and line with parchment paper. The parchment paper helps with cleanup later.
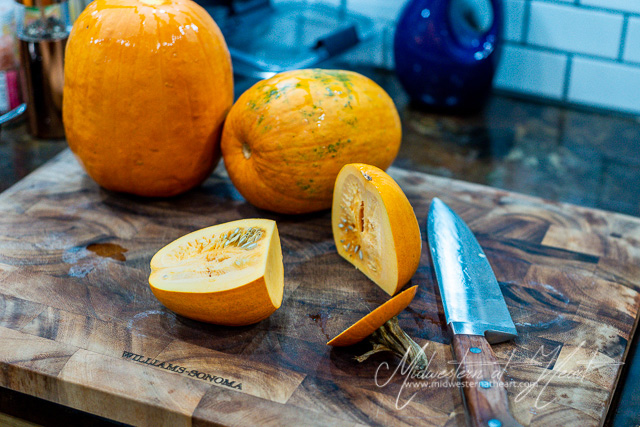
3. There are two ways to cut open your pumpkin.
- First, you can slice off the top (and bottom) of the pumpkin, then slice in half.
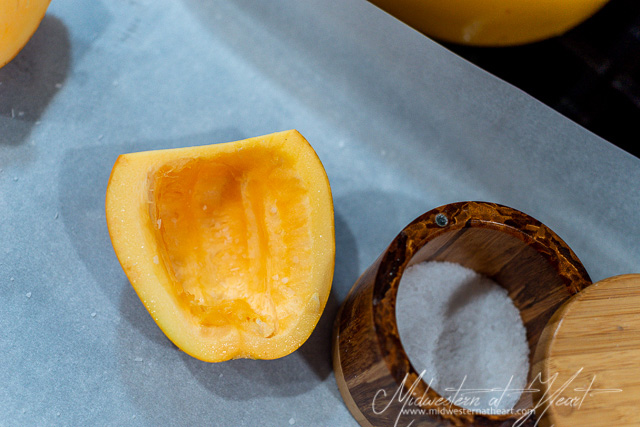
- Second, just slice the pumpkin in half. There is no “right” way… just as long as the pumpkin is cut in half so that the pumpkin guts (the seeds and the strings) can be scooped and cleaned out.
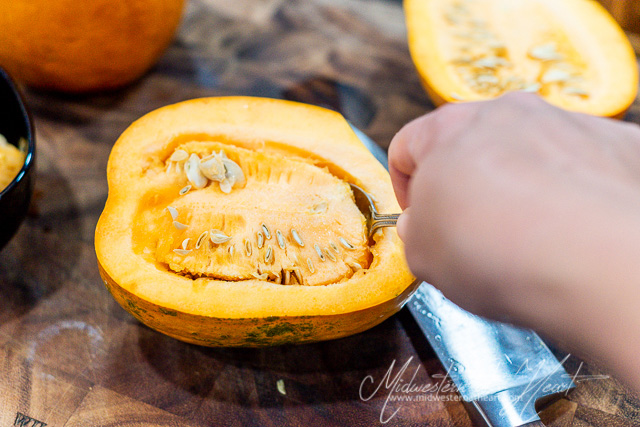
4. Clean the pumpkin guts out. Those straggly strings are a little hard to get out sometimes. Get as many out as you can. If you have a few leftover… no one will know, right? But get as many as you can out.
5. Next, drizzle a very small amount of olive oil into the pumpkin. Smear it all over. Then season with salt. It doesn’t take a lot, just a pinch but makes sure you spread it out all over the inside of the pumpkin.
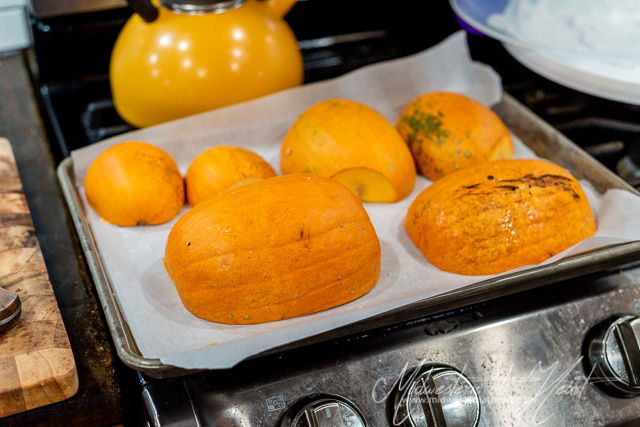
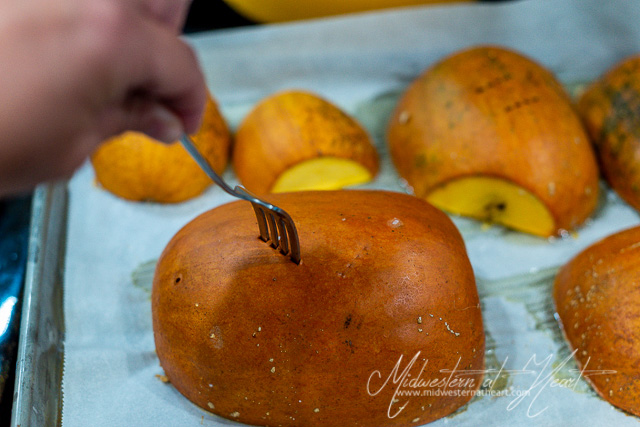
6. Place pumpkins face down on parchment paper. Then place in a preheated oven for 45 minutes, or until piercing the outside skin of the pumpkin is easy.
7. While the pumpkins are cooking you can either
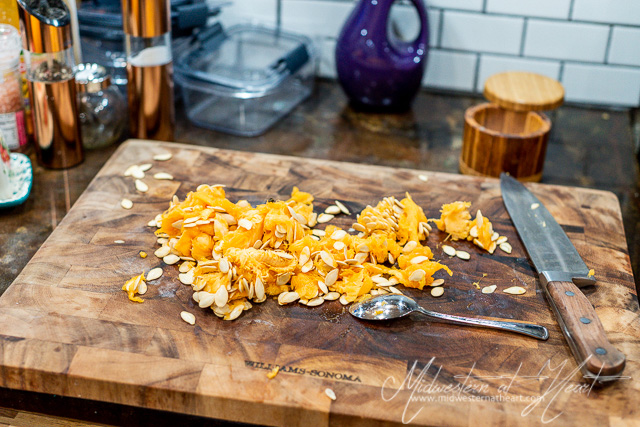
- Clean up and discard the insides… or
- You can clean them up a bit and make pepitos. (that’ll follow)
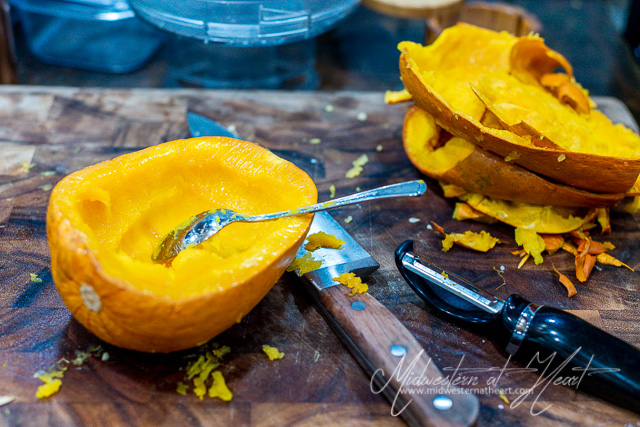
8. Once you pumpkins are cooked, now it is time to pull the pumpkin away from the shell.
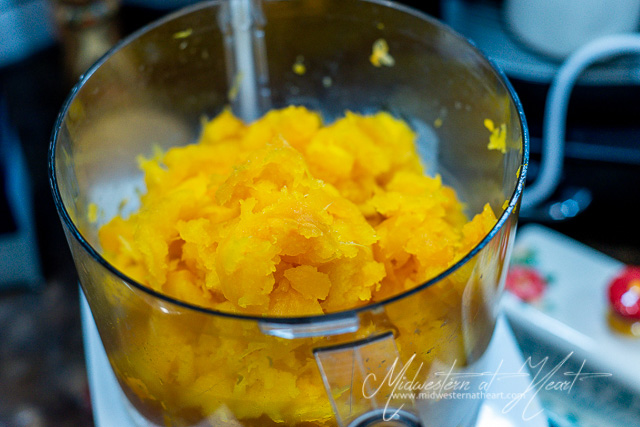
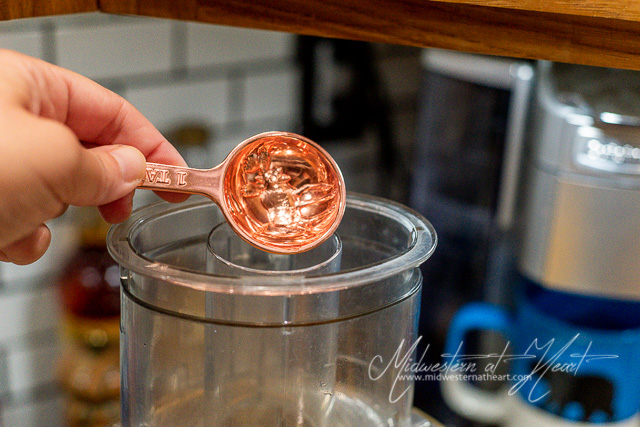
9. Place the pumpkin inside a food processor or blender. It’s time to blend that stuff up! If it gets a little stiff or dry, add a tablespoon of water at a time. Pumpkins are 90% water so we don’t want to add much. Especially since homemade pumpkin purée is a little more liquidy (is that a word?) than the stuff you buy in a can. Keep that in mind when you are making your recipes.
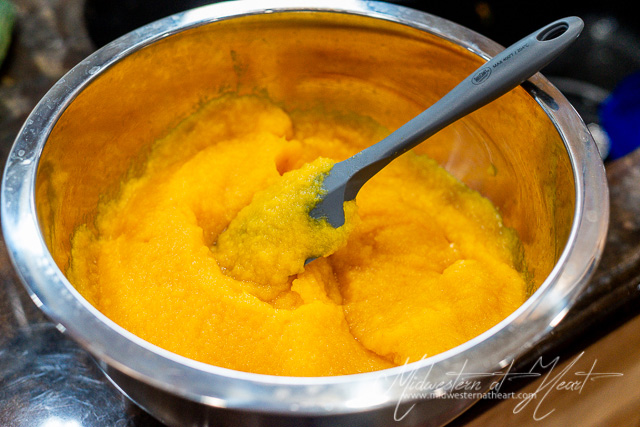
10. Now that your pumpkin purée is ready to go, pour it into a bowl. Why? Well, if you are like me, you’ll have way more of this than will fit in one blender/food processor go round. 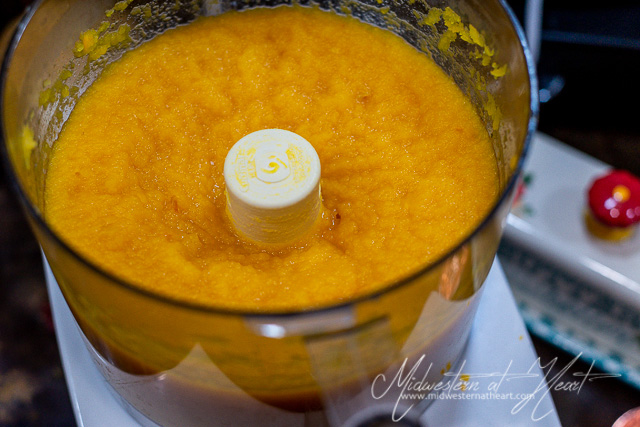
11. Once you have it in the bowl, go ahead and stir it together. Make sure it mixes well.
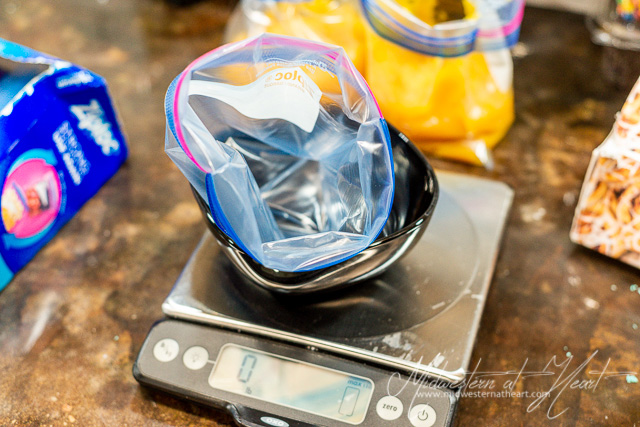
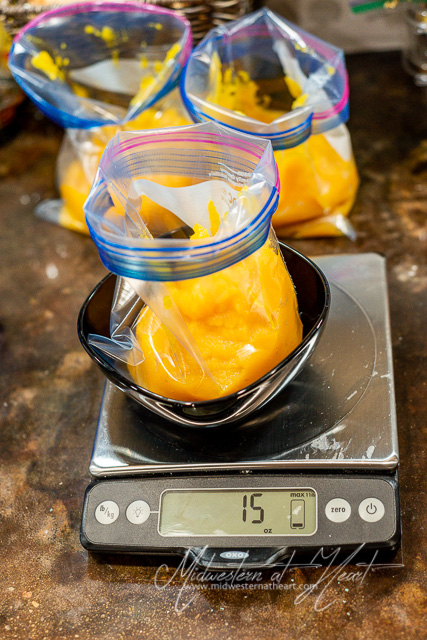
12. Then it is time to bag it up. I pull out my scale for this so that I can bag it up in 15 oz amounts. However, if you know that a 1 cup is 8 oz, then just put 2 cups in a ziplock bag and you have 16 oz.
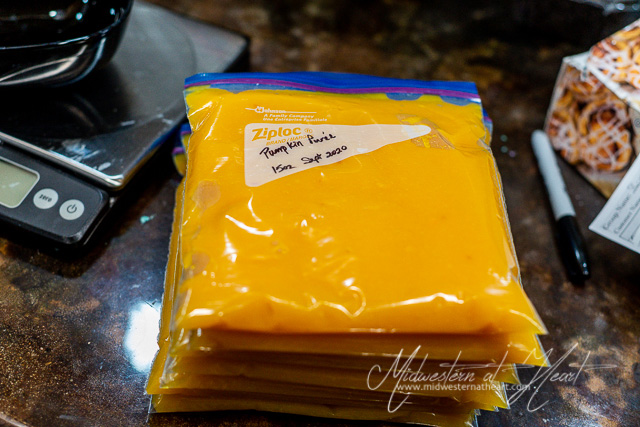
13. Lucky Number 13. I’m not afraid of the number 13. Another story for another day!! But once you have your pumpkin purée in the ziplock baggies, push out all the air. Lay flat and label. Why lay flat? Well, it makes them store in the freezer easier. Now it is time to freeze!!
[amd-zlrecipe-recipe:3]
