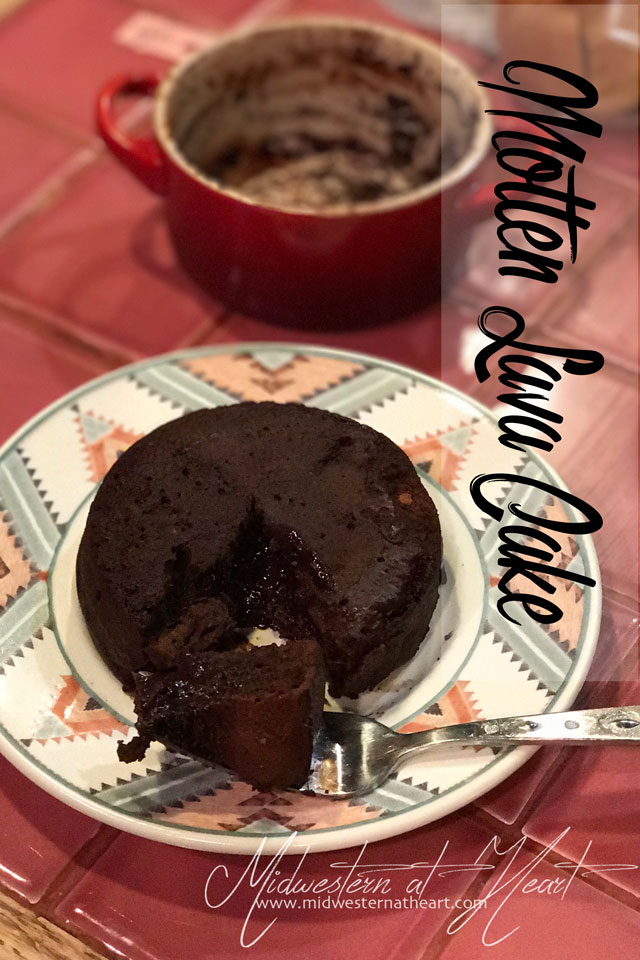
Molten Lava Cakes

Earlier this summer I was so excited when I found this Baking challenge… except, it let me down. Okay, I’ll explain. I was really looking for a reason to get excited about baking. I was also looking at finding new things to bake. Something to learn or a new recipe to try that may be different than what I already bake or something, right? Isn’t that the fun of a challenge? To learn something new… That’s what I thought…
So I was so excited to see September 1 come around. That meant something new on Sally’s Baking Challenge, except I was sorely let down. It was decorating a cupcake. Seriously? I’ve been working on making and decorating cupcakes already. I’ve had cake decorating classes. Decorating with icing and tips is nothing new to me. I wanted a challenge. And all she was doing was decorating a cupcake to look like a sunflower. You choose your own cupcake recipe. Well crap.

Her challenge started in February. The first recipe was for Chocolate Lava Cakes. So I decided I’d go back and try that one. I’d surely learn something there, especially because I’ve never made any kind of a lava cake. Yey!
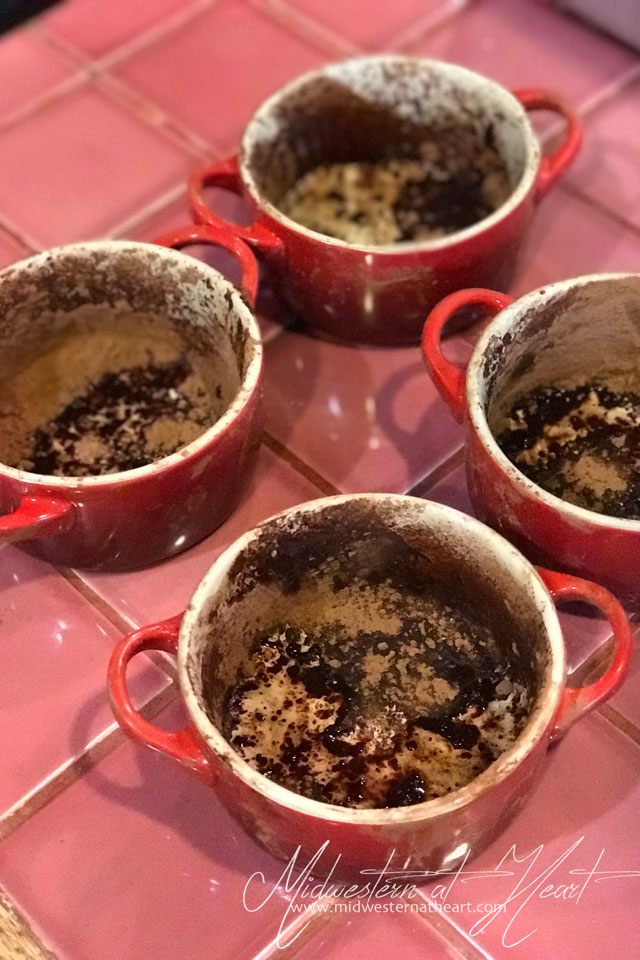
For hubby’s work anniversary this year, he was given a list of items to choose from. He chose Le Creuset ramekins, which will be great for French Onion Soup. But they’d also be great for this classic molten lava cake recipe. Score!! I’ve been looking for a reason to use these anyway. Now I finally had one.
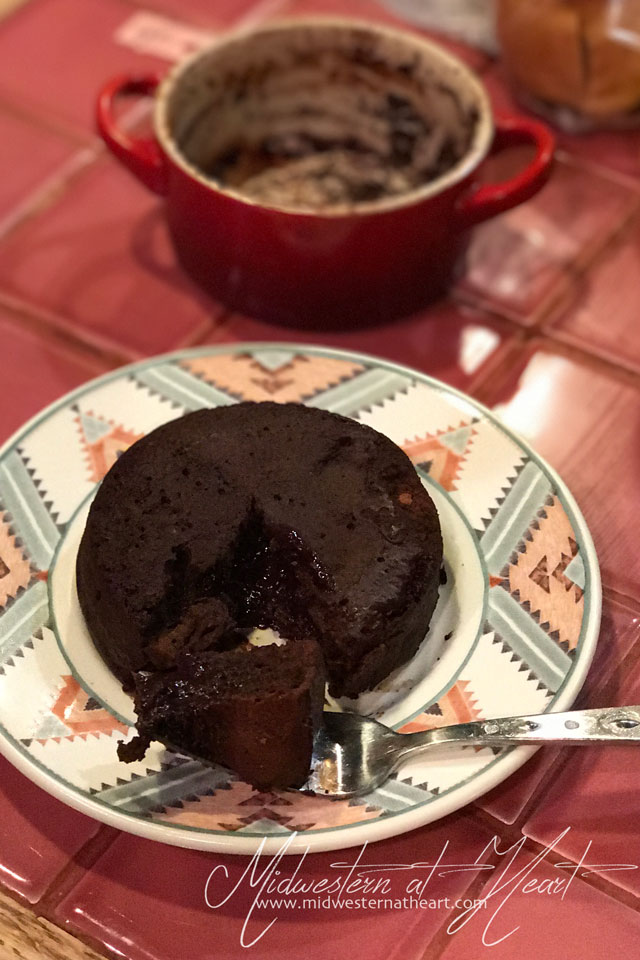
One tip she gave was you needed to use quality chocolate, not chocolate chips to get the running middle. Well, my middle wasn’t all that runny and I used Ghiradelli baking squares. Bummer. But, the cake was good. It was really good. I’d definitely make it again, but try really hard the next time to make my middle runny. Ewww… a runny middle? Yes, with a molten “lava” cake. Think of a volcano :). haha. Okay, now run to the store, buy these ingredients and make this asap. Then invite me over and I’ll try yours!
Molten Lava Cakes
adapted from Sally’s Baking Addiction
Ingredients:
- 6 oz Semi-sweet chocolate, high quality
- 1/2 cup Unsalted butter
- 1/4 cup All-purpose flour
- 1/2 cup Confectioners’ sugar
- 1/8 tsp Salt
- 2 large Eggs
- 2 large Egg yolks
- optional: ice cream, raspberries, and/or chocolate syrup
Special Equipment:
- Four 6oz Ramekins or a 6 or 12-count muffin pan
Directions:
- Preheat your oven to 425˚F. Spray each of the four ramekin’s or 6 of the muffin cups with nonstick cooking spray and then dust with cocoa powder.
- Coarsley chop the chococolate bars into small pieces. Then place the chocolate into a microwave safe bowl with the butter. Microwave on high for 30 second intervals until the butter and chocolate are completely melted and mix together smooth. Set aside.
- In a small bowl, whisk the flour, confectioners’ sugar, and salt together. In a seperate small bowl whisk the eggs and egg yolks together. Mix the flour mixture with the chocolate mixture with the eggs and slowly stir it all together until completely combined. If there are any lumps, use your whisk to gently separate the clumps. Note: the batter will be thicker.
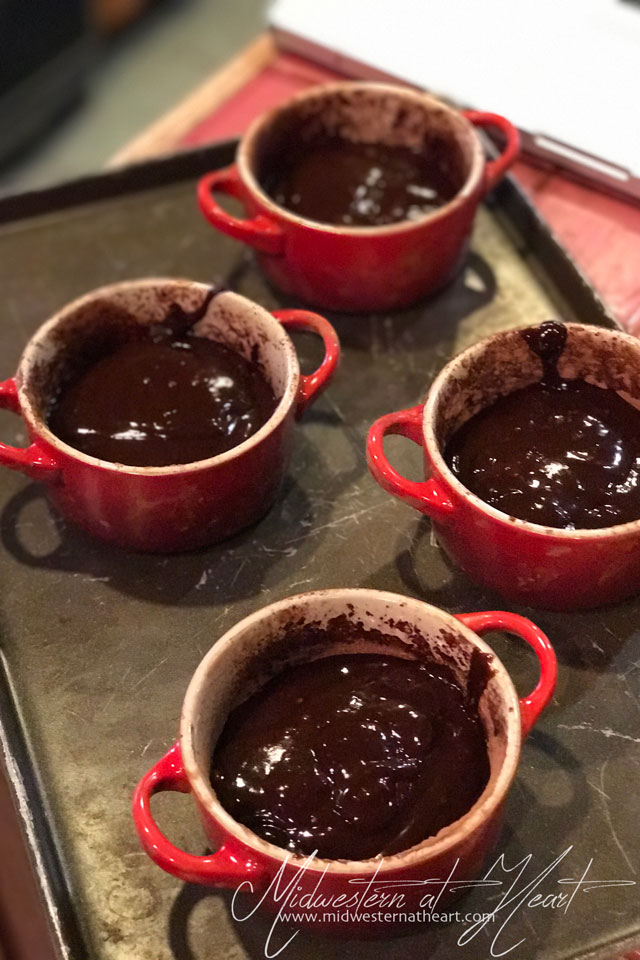
- Spoon chocolate mixture evenly into prepared ramekins or muffin cup tin.
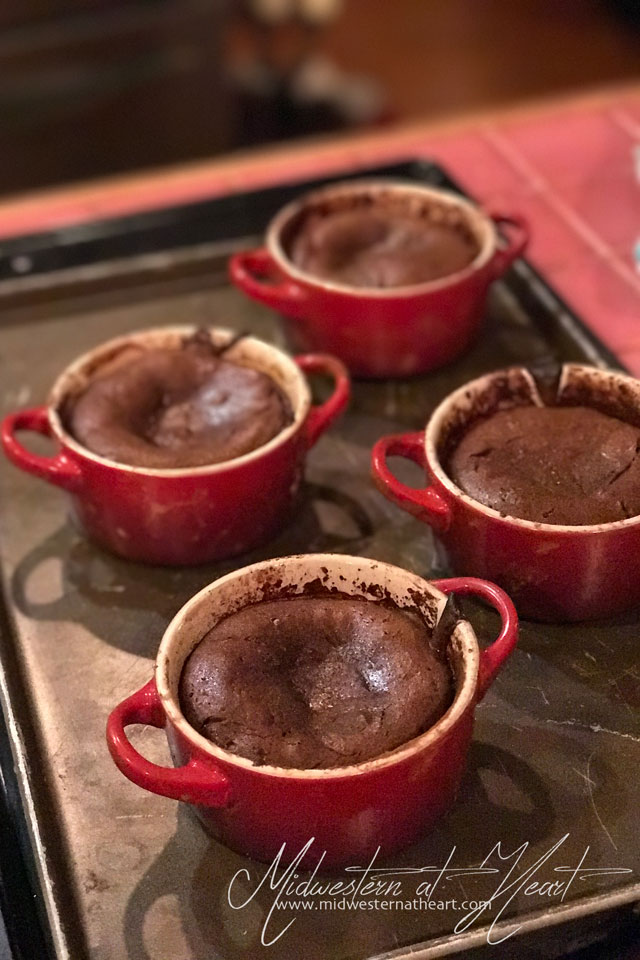
- Place ramekins onto a baking sheet and bake for 12-14 minutes until the sides appear solid and firm. The tops will be soft. If using the muffin tin, back your time off to 8-10 minutes because they are smaller.
- Allow to cool for 1 minute, then invert onto a plate.
- Top with desired toppings. Eat and enjoy!