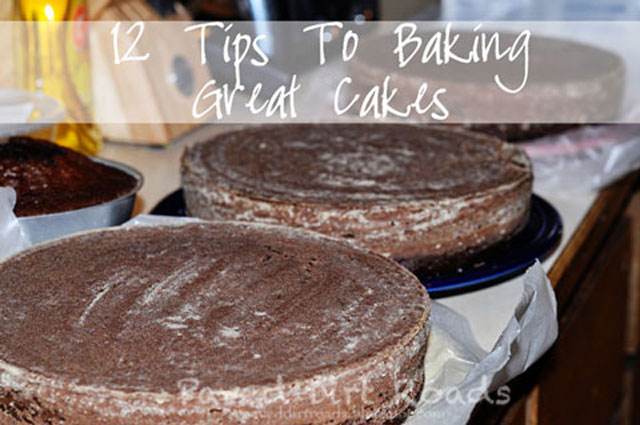
12 Tips to Baking Great Cakes
I wrote this blogpost a month ago for a guest blogpost on a website. They didn’t use it, they didn’t tell me they weren’t going to… so I’m posting it here since I did spend quite a bit of time writing it :). Hopefully you enjoy and maybe find a little useful information to boot!
+++++++++++++++++++++++++++++++++++++++
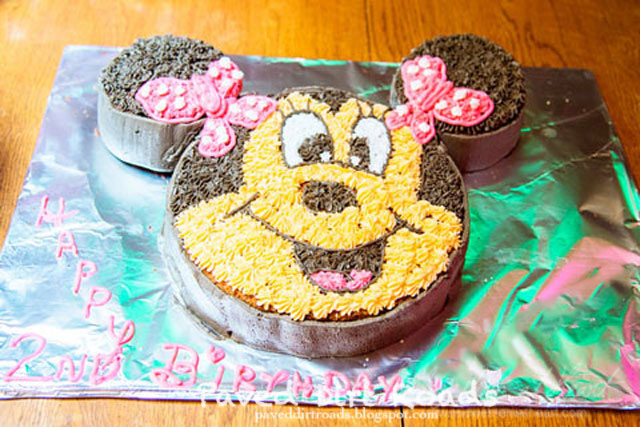
My daughter is huge in to Mickey Mouse Clubhouse right now, especially Minnie Mouse. Back in June for her 2nd birthday we decided to have a Minnie Mouse themed birthday party. I took cake decorating classes back in 2008 because I had nothing better to do with my time, so I learned all the techniques on decorating cakes. I might be a little rusty these days, but I still have all that arsenal in my back pocket to come in handy one of these days. Now I’m going to share some tips with you on how to decorate your own cake to look professional.
For my daughter’s birthday I decided we were going to have Minnie Mouse Cupcakes, Mickey Mouse Clubhouse cookies, and then on her actual birthday a cake. Yes, she got two parties. Sometimes it happens.
So my tips on making the Cake… from get this… a box mix. Shhh don’t tell anyone!
1. I’m not picky on box mixes. In fact, I won’t lie but a lot of times I use what I can get cheapest. Now I will still go for name brand cheap, but not always. So buy the box mix of your choice!
2. Eggs. You should have your eggs room temperature. Yeah yeah, we all hear that and sometimes we don’t all have time for that… am I right? Okay, 2 tips on getting your eggs to room temp quickly… crack the eggs individually into bowls right before you start to allow them to “quickly” rise to room temperature. Second way… while still in the shell, run them under luke warm water for 5 minutes. Or the third way (I know I said 2 but…) do it the right way and set the eggs out for about 30 minutes before hand.
3. Preheat your oven. My cake mix always says 350˚F. There is a science to making cakes… so make sure to do this and let it fully come to temperature.
4. Make sure you have good sturdy cake pans. I love the Wilton ones but that’s my choice. It is better to have a good sturdy cake pan though… you know, instead of the throw-away cheap type.
5. Just before you turn that oven on to preheat, make sure your oven rack is in the middle. Maybe that should be point number 4 because it sucks to try and move that rack after the oven is hot. Trust me, I’ve done it. It’s doable but not fun.
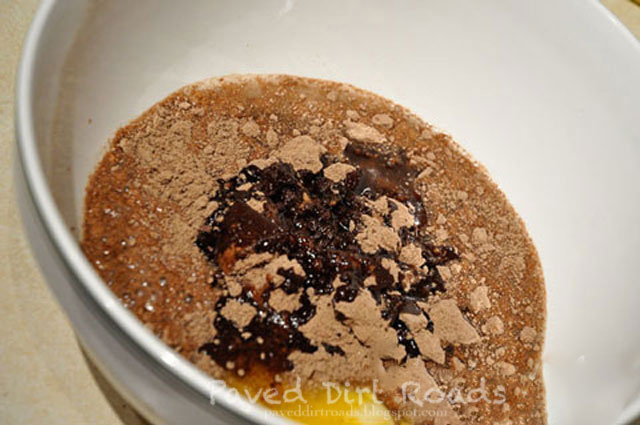
6. Mix it… Mix it good. Does that make anyone think of that 90’s song. Oh wait, did I just age myself? Anyway… hint, I typically don’t use a mixer to mix my cake mix. I know, I know… But I get out a whisk and I whisk it by hand. Sometimes that’s a pain and your arm gets tired, but it works for me and sometimes I’m lazy and don’t want to have to clean my mixer. The cake mix says to mix for 2 minutes usually… well… I try to do that by hand but may not always make it. Don’t tell… they might send me to cake jail…. Just mix it until it looks like it’s light, fluffy, and all the dry is mixed into the wet. You’re good to go and golden then!
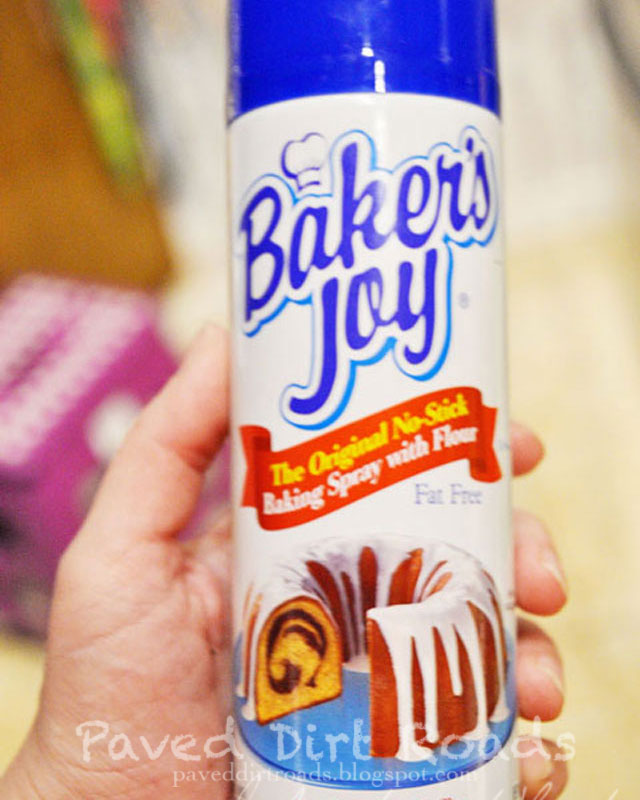
7. Remember to Grease that pan. If you don’t, you’ll be crying! So back in the early 2000’s (there I go aging myself again) Food Network did a special on cake baking sprays. Baker’s Joy won. That’s what I swear by. But if you don’t want to buy that… my other suggestion is lightly butter your pan and reserve just a bit of your dry cake mix and add that to the butter, instead of flour. Especially with chocolate cake. Then you have that layer but it’s not white flour, especially on chocolate cake. If you choose the flour method, then use cocoa for a chocolate cake mix to avoid having that white layer on a perfectly pretty chocolate cake. But really, just buy the Baker’s Joy.
8. Bake it. Bake it good. Okay, sorry, I’ll quit that now… So I’ve learned with my oven that it is best to cook at the minimum time. So say it says 30-35 minutes. I bake it at 30 minutes, then test it. Invest in long toothpicks or wooden skewers, they are helpful when you have a thicker cake. Otherwise toothpicks will work. Place the toothpick in the middle of the cake. If it comes out clean, pull the cake out.
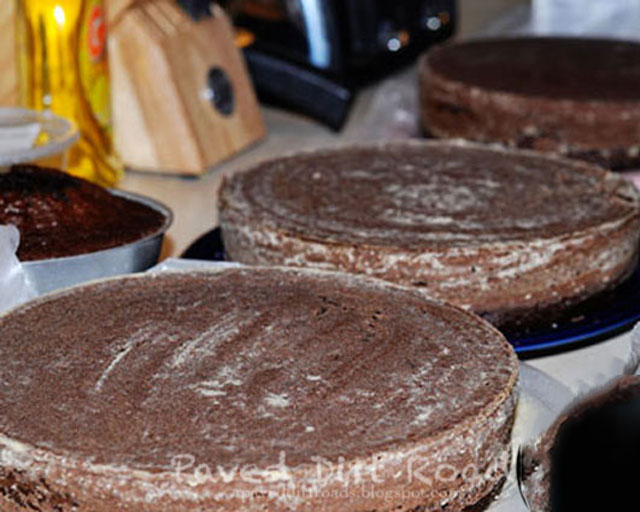
9. Let it cool. Here’s where I break the rules again. I try to bake my cake the day before. Doesn’t always happen, but that’s my goal. I leave the cake in the pan and let it cool, then I wrap it in aluminum foil. Most people say let it cool for X number of minutes then cool on a rack. I place my pan on a rack and let it cool. That’s only backfired on me twice and that’s when I didn’t have the bakers joy. Like I mentioned before… buy the Baker’s Joy. Then that aluminum foil, I use it to wrap my cardboard cake plate when I’m ready to decorate my cake.
10. If you don’t have time to let it cool… ok I hear you… let it cool in the pan on the counter for 10 minutes, then place it directly into the refrigerator or freezer. Refrigerator for 30 minutes or freezer for 15. You don’t want it to freeze after all, just cool.
11. If you don’t have the premade/precut cake board, just grab a box, use your cake pan you baked in, turn it upside down, trace the top and cut. Then cover with aluminum foil and place your cake on the board and you’re ready to run. Heavier cakes… you might want to double up on the cardboard to make it sturdier.
12. Frost it. Get a good recipe or use store bought if you must and you’re ready to go. I prefer homemade, but that’s another discussion for another day.
*Pulled from my old blog Paved Dirt Roads