How to: Make a Korker Bow
Every now and then I get a crafty bone in my body… and this summer I thought it would be really fun to make Peanut a bow to wear in her hair. I decided I wanted to make her a multi colored Korker Bow. So I thought I’d take pictures along the way to show you how I did it. Super simple!!

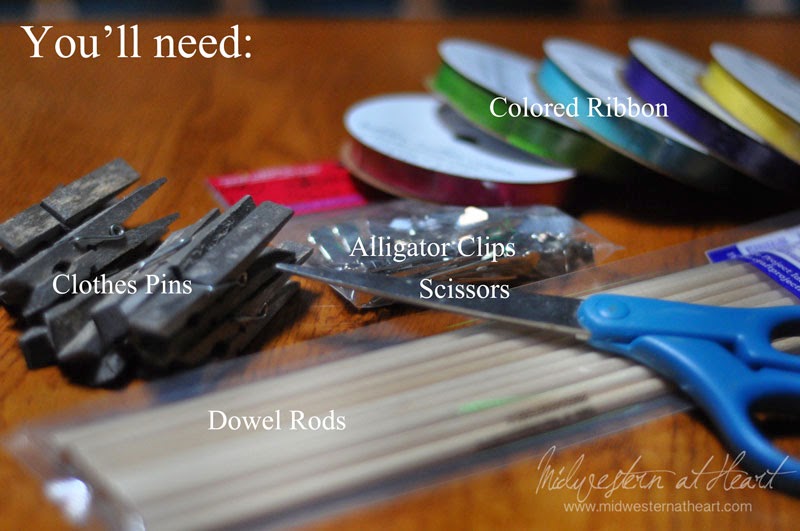
Ok so you’ll need to get:
- 3/8″ Grosgrain ribbon. I went with multi colored but you can do it all as one if you’d like.
- Wooden clothes pins or something to secure the ribbon when it goes in the oven
- Alligator Clips (or barrettes, whatever you plan on securing the bow to)
- Scissors
- Dowel Rods
- Hot Glue Gun
- Fray Stop (optional)
- Poptart Box (optional)
- Oven
- Water
- Spray Starch (optional)
- Yarn, elastic cord or embroidery thread.
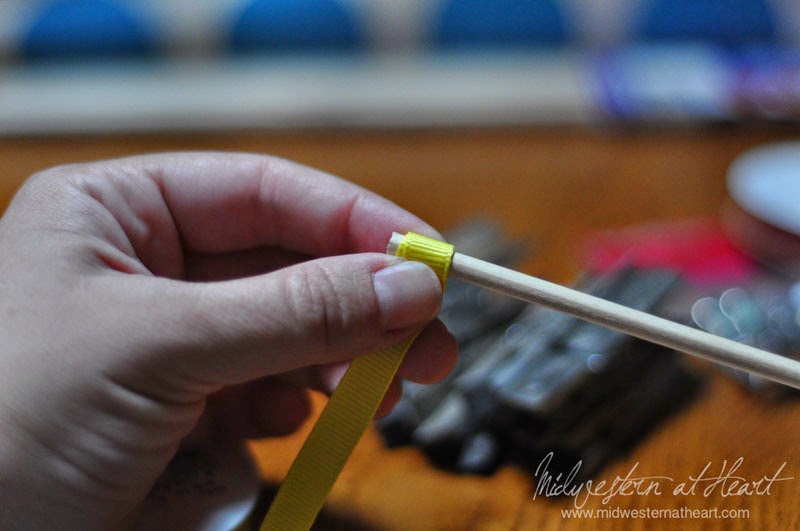
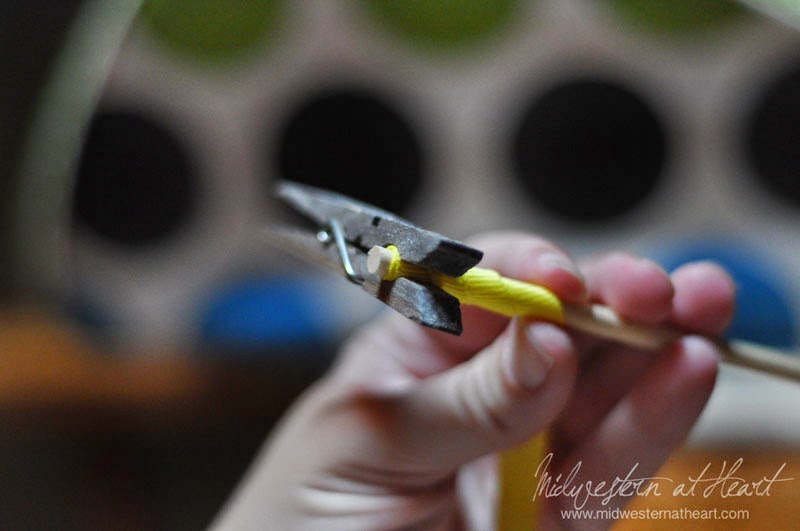
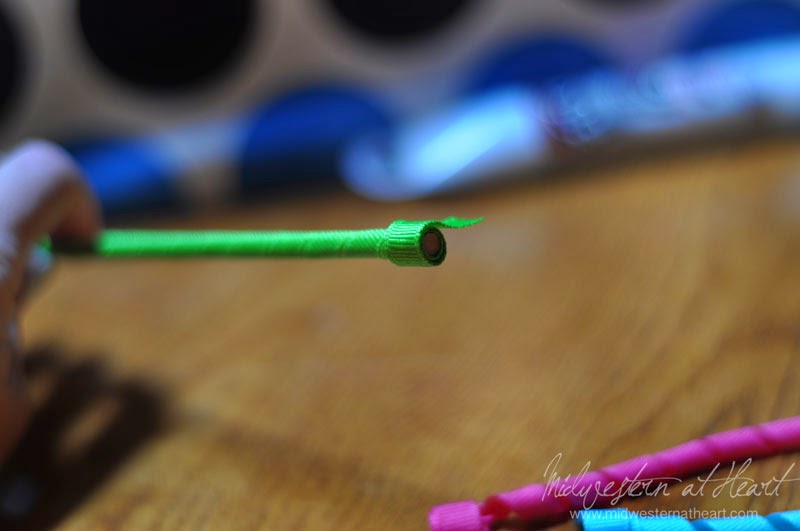
So first you want to start wrapping one color of the ribbon around the dowel rod. You’ll want to make 2-3 wraps on top of itself so that you can place a clothes in on that end to keep it secure to the dowel rod.
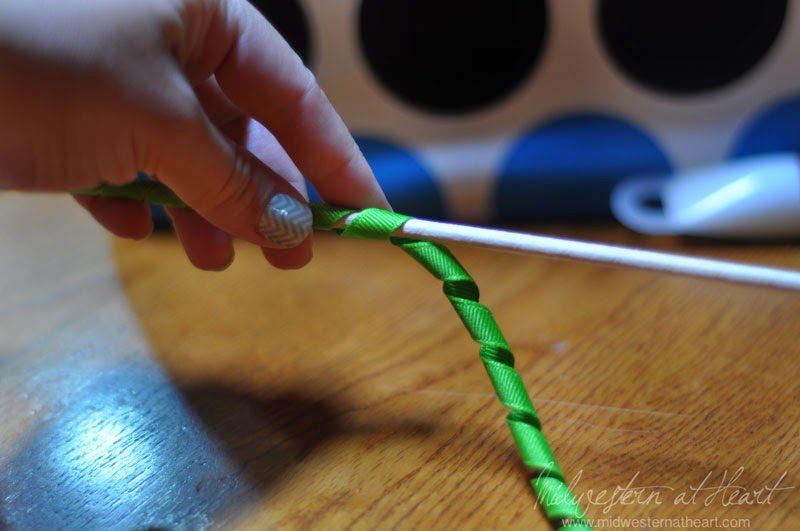
Secure the ribbon with the clothes pin and then start wrapping down the dowel rod at an angle.
Your ribbon will follow suit to the angle and stack upon itself like pictured below.
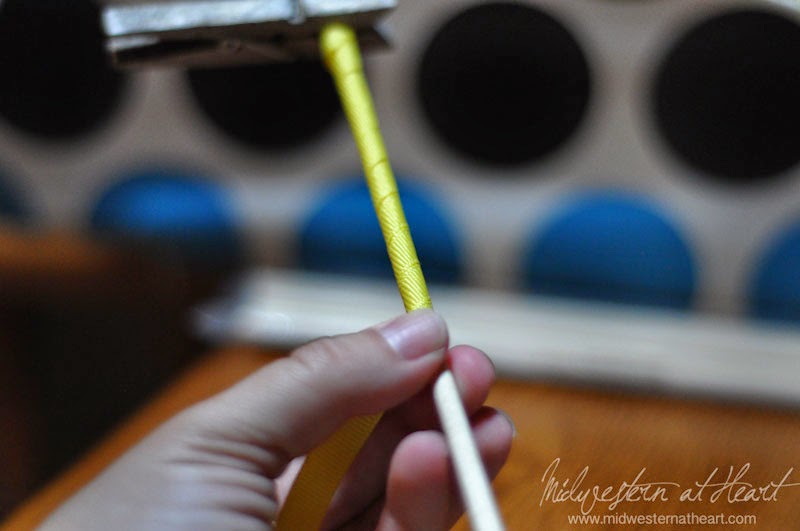
Once you get to the other end of the dowel rod, make 2-3 wraps around the end, secure with the other clothes pin and then cut the ribbon off.

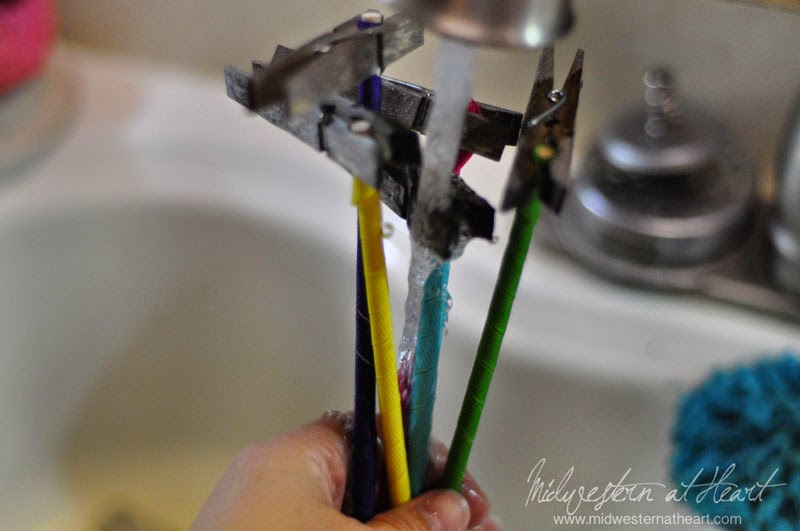
Once you have all your dowel rods wrapped with ribbon, take to your sink and soak them in water. that helps your clothes pins as well as your dowel rods from catching fire in the oven. You know, precaution. At this point you can also use a light spray of starch if you want. I didn’t but you can.
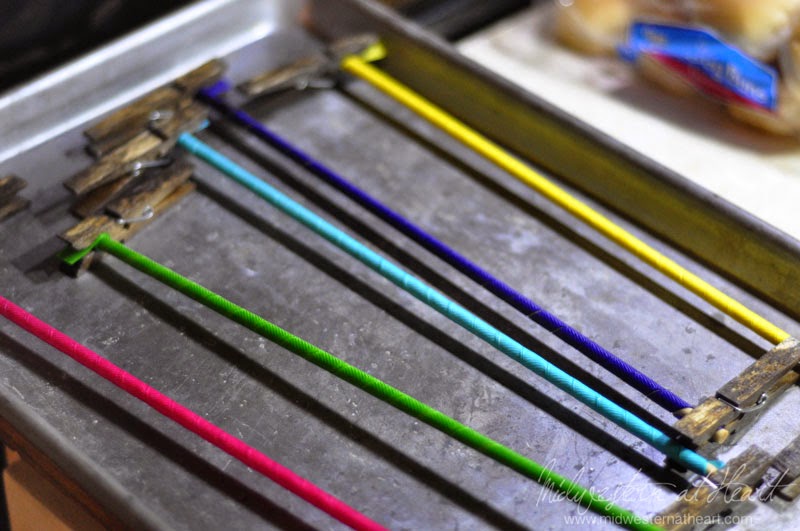
Place your dowel rods on a cookie sheet and place in a 250 degree oven for 25-30 minutes until the ribbon is dry. Then remove from the oven and let the ribbons and cookie sheet cool completely (otherwise they’ll be extremely hot 🙂 I knew you kept me here for Captain Obvious moments)
Once you have let the ribbons cool, start to unravel them from the dowel rods.

If you take the clothes pin off, the ribbon will actually stay now. Slowly start to unwind the ribbon off of the dowel rod.
As you can see the ribbon will hold the shape of the dowel rod as you remove it.
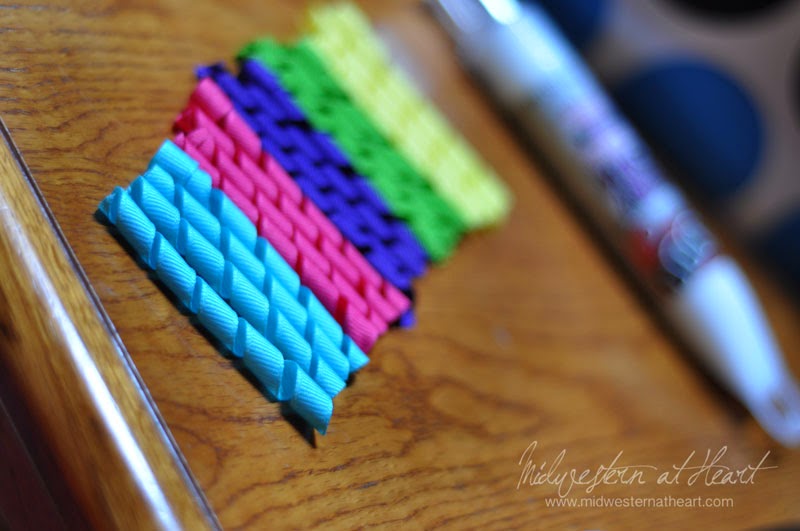
Measure out the length you’d like your ribbons. Mine are 3″ long. I measured one of the ribbons and then used it as a guide to cut the rest of the ribbons. They may not all be exact but it does help in the shape of the final bow if there is a bit of difference anyway. Or if you have to have them all the same, then make sure to measure all as you cut them off.

Here is where you apply the Fray stop to your ends. I actually had the Fray stop as you can sort of see in the background but I didn’t actually use it on this particular ribbon.
Here is where the Poptart box comes in handy, although I didn’t have one. The thing about the Poptart boxes is they are about 3″ wide or deep, whichever you want to call it. How convenient is that? So what you would do is cut the box in half from top to bottom. Then down each side cut a small slit so that you can drape your string between the two slits.
I didn’t have a Poptart box so I just laid my elastic cord out. Hind sight lets me know next time I’ll use embroidery thread, I think…
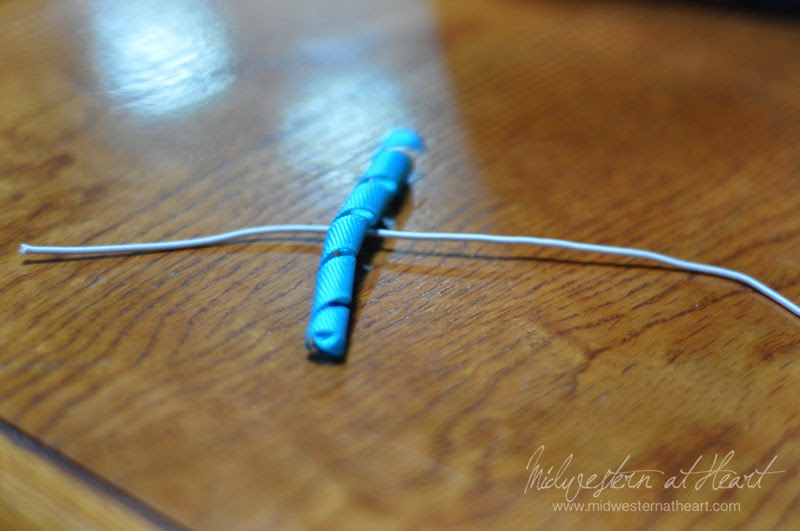
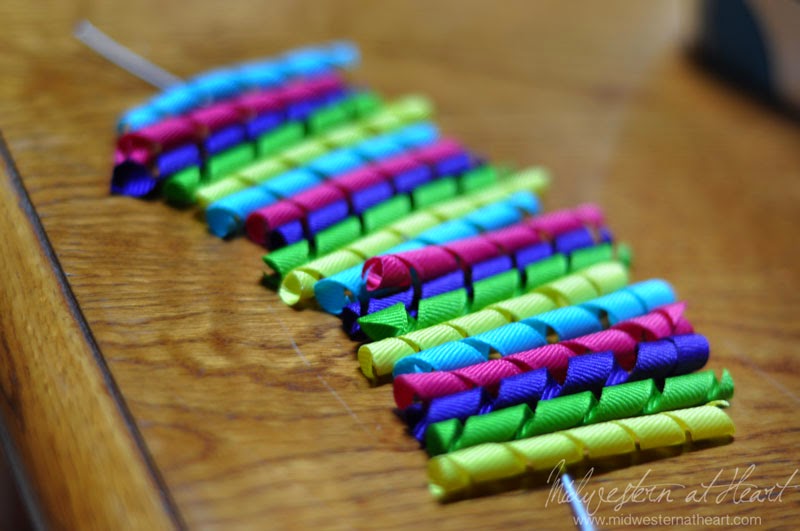
So then you start laying your ribbons in the middle down on the cord in the patter you want them placed in. The poptart box also helps with being able to stack and keep them stacked upon themselves, again I didn’t have one so I made due.
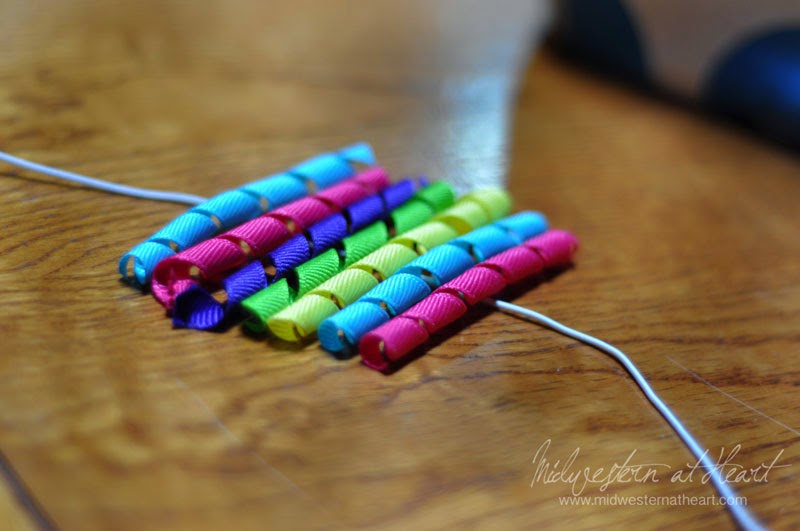
Since mine wouldn’t stay stacked, I placed them out lengthwise and then when I went to tie it off, I helped them stack up upon themselves.
Then you tie the ribbons off.

Make sure you tie them extra tight. Now some people prefer to sew them but I chose to tie off because it was easier for me.
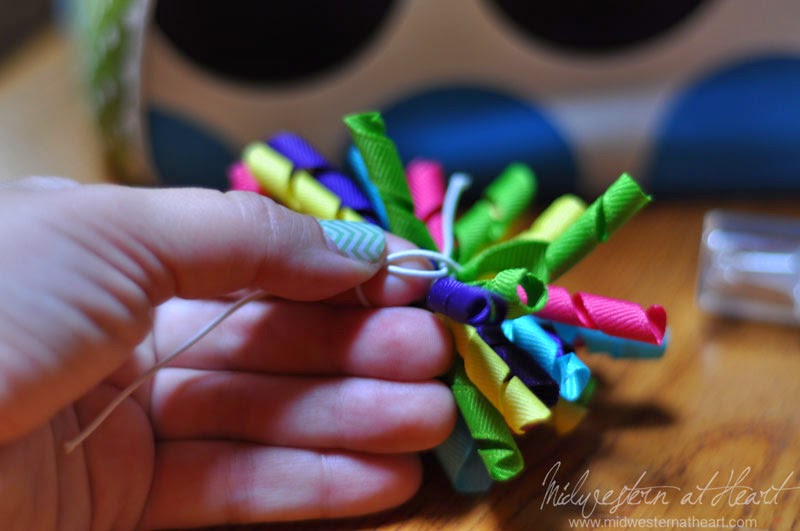
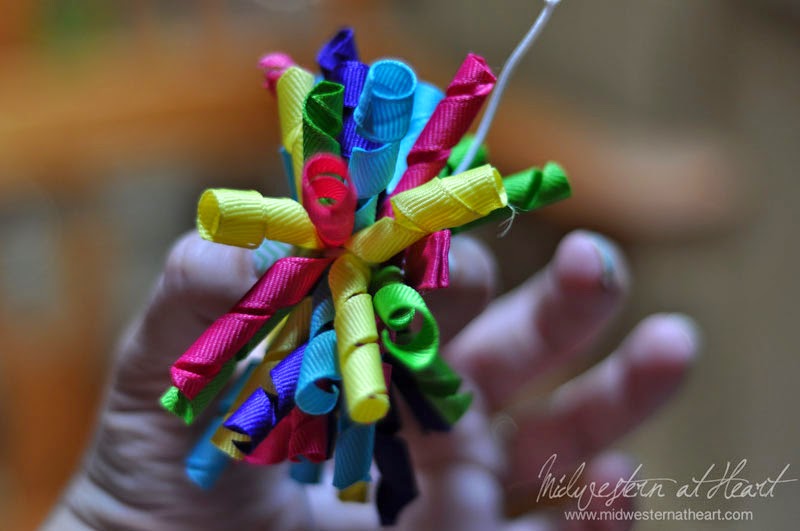
Once you have it tied off, then you want to pull your ribbons out to fluff up your bow. The more ribbons you have, the fluffier your bow will be. The less ribbons, the less fluffy. I know another captain obvious moment, right?

Next you want to take your glue gun and some ribbon and cover your Alligator Clip (or whatever you’re going to secure the bow to). This just makes a prettier presentation.
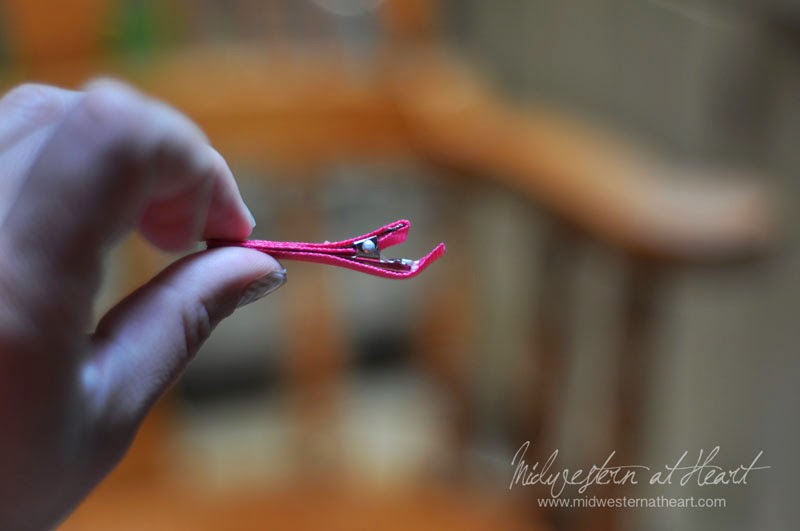
Finally you are ready to hot glue (or craft glue I guess you could use) the ribbon to the Alligator clip.
Hold it firmly until the glue has a chance to take hold and actually help the bow stick to the clip.

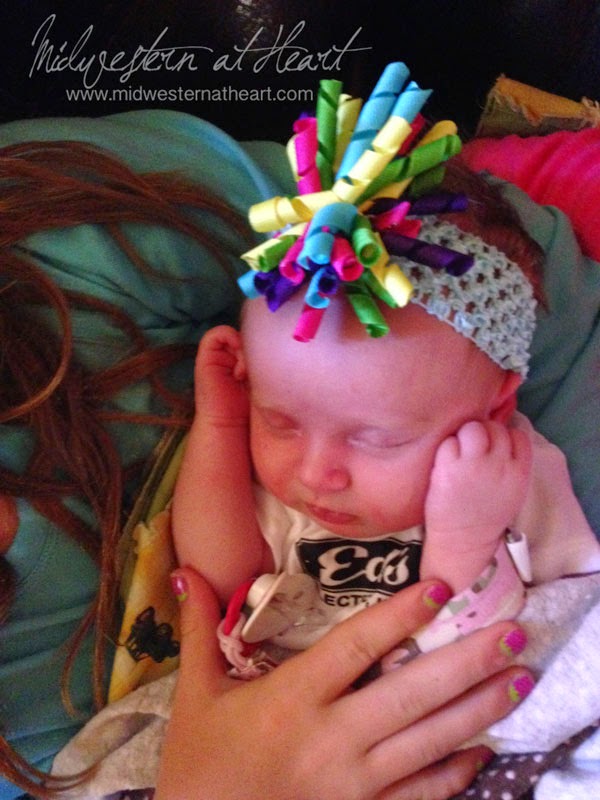
Since I used an Alligator clip I was able to attach it to a headband and baby girl was able to wear it now. See it was easy. It took probably oh, less than an hour with the baking and cooling. But how cute is that? I did the multi colors because she can wear it with multiple outfits. And there we have it, the Finished Korker Bow.